
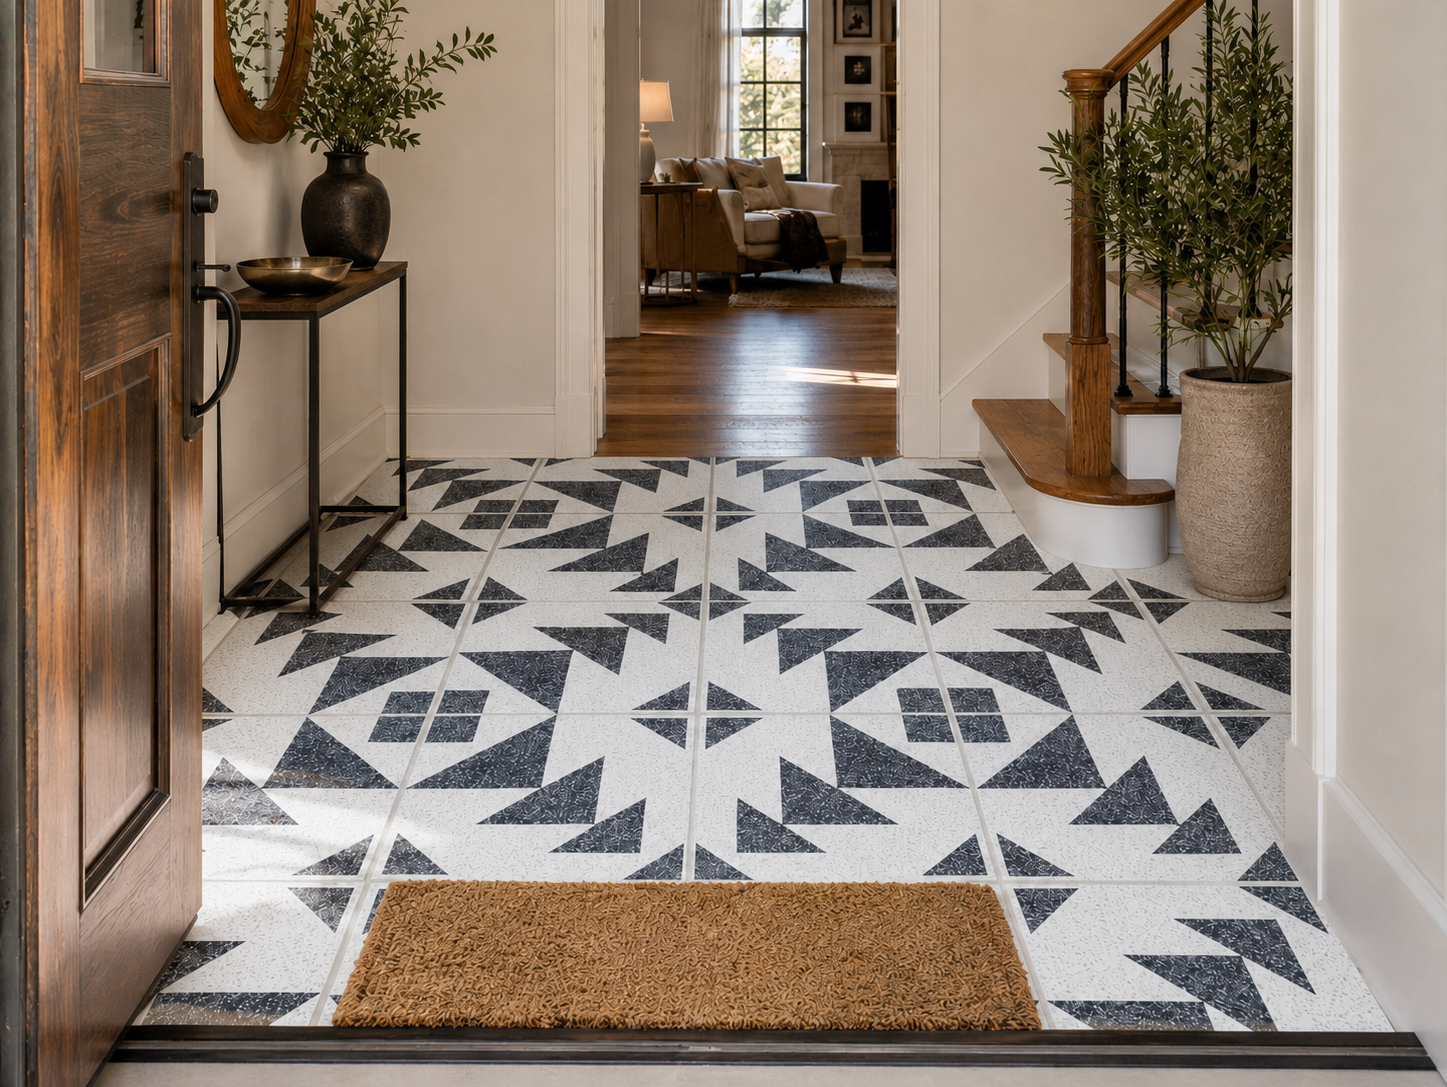
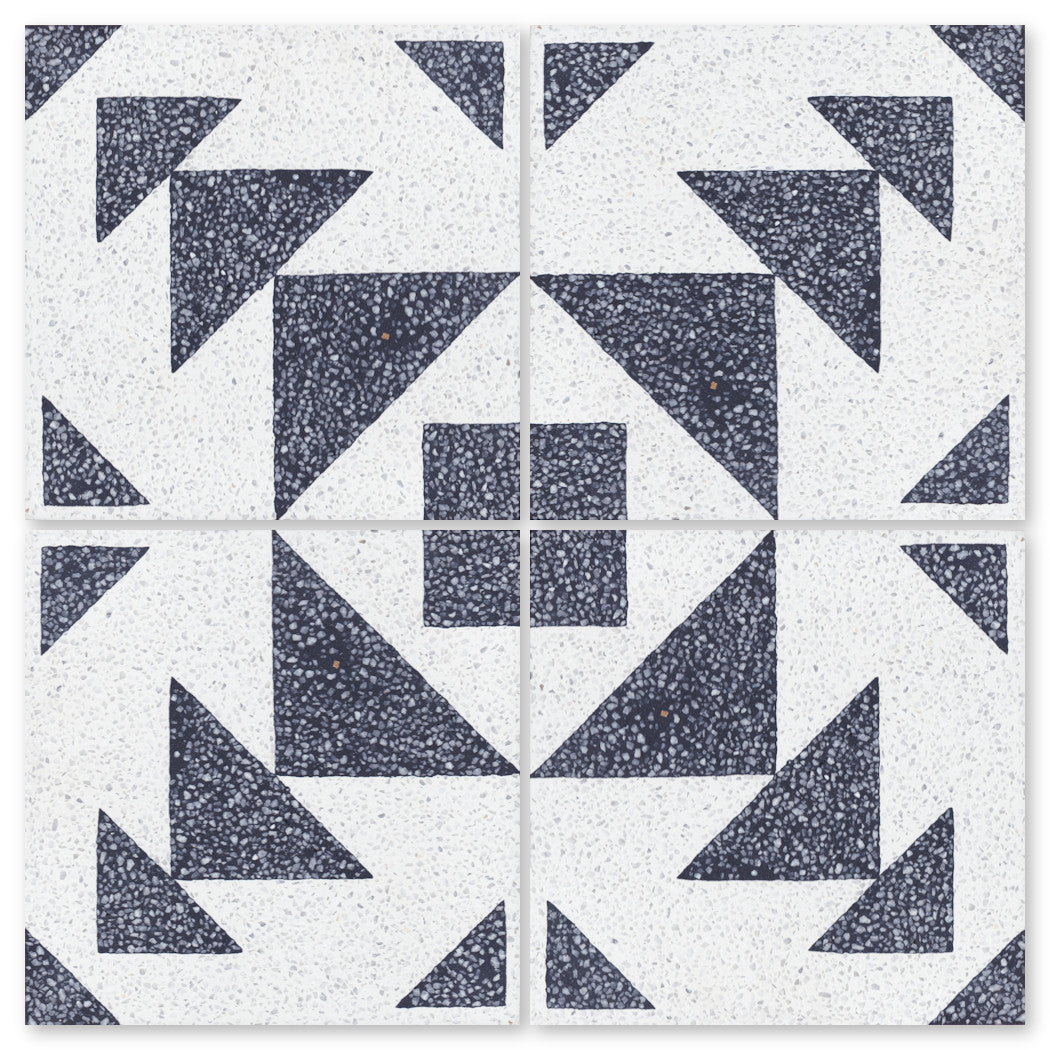

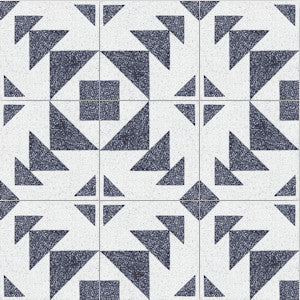
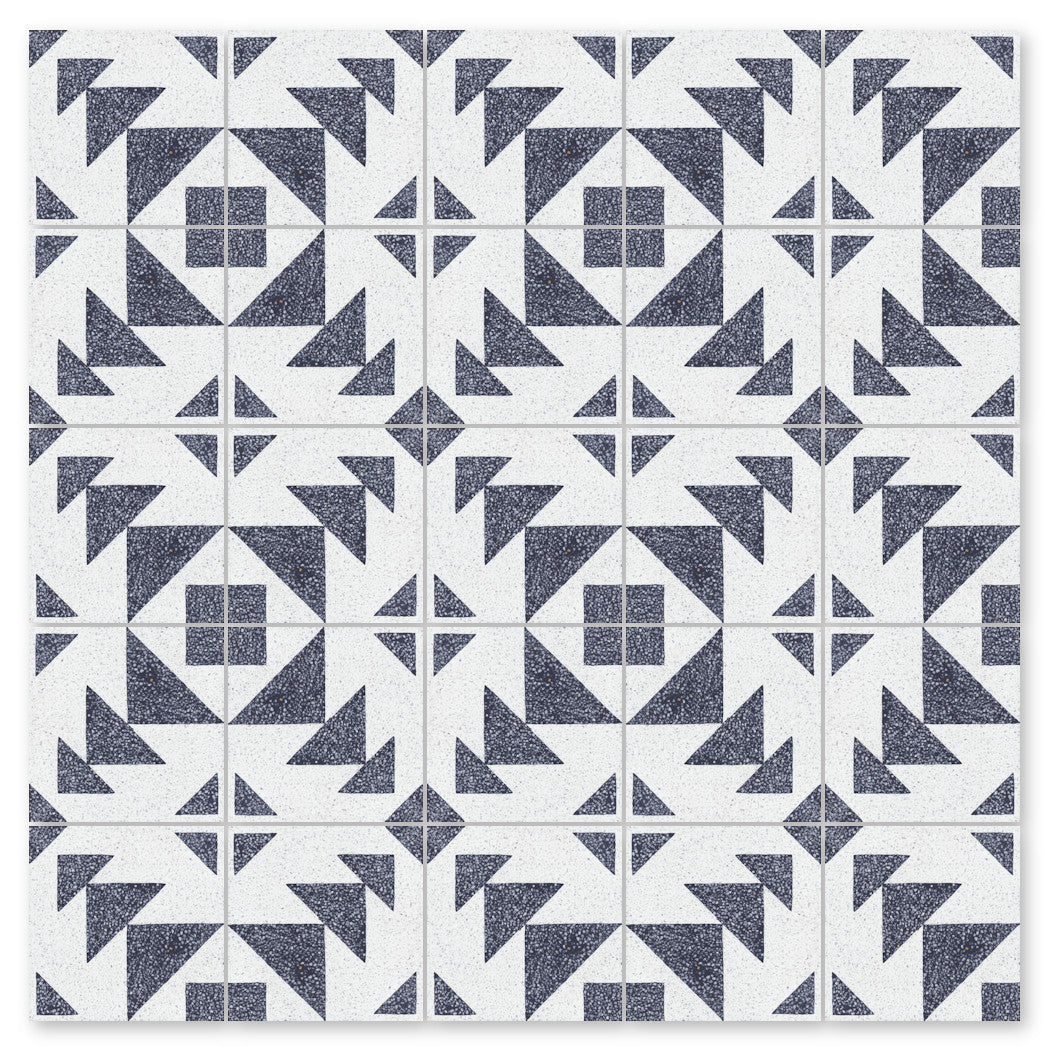
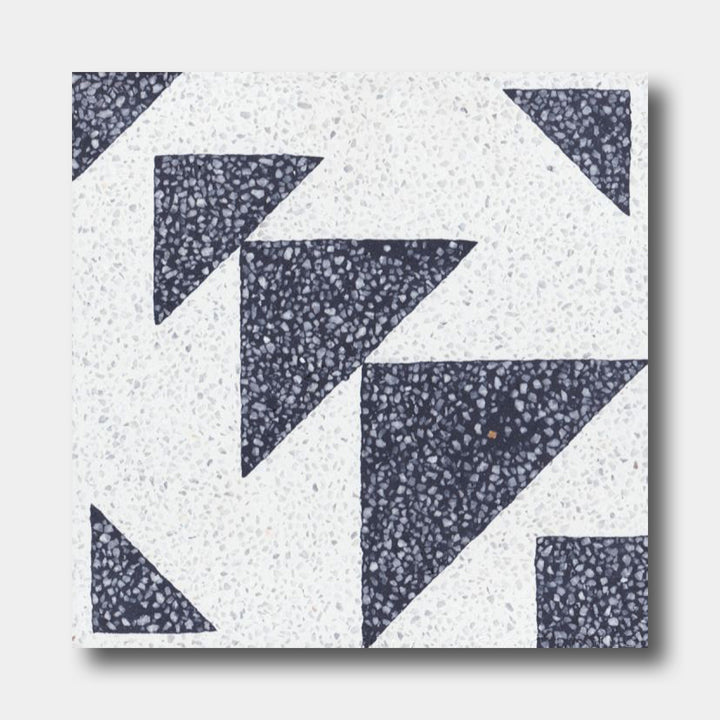
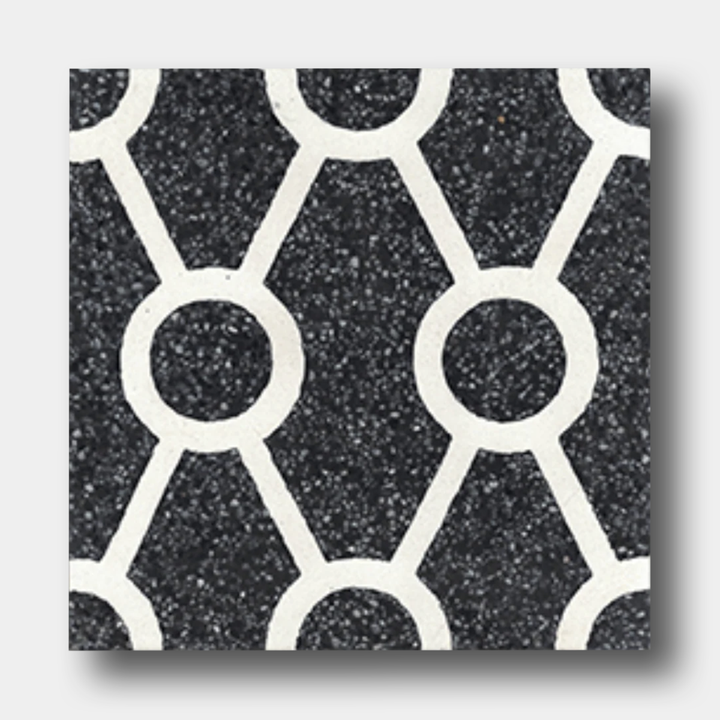
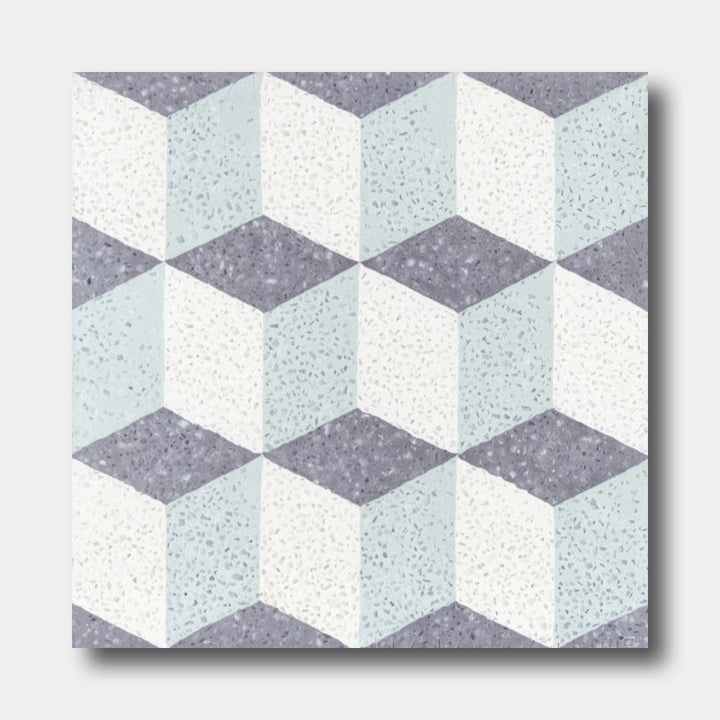
Terrazzo 8x8- Code Talker B


-
Interior Floors – High Traffic
-
Interior Floors - Low Traffic
-
Exterior Floors – Freeze or Thaw
-
Exterior Floors - Non Freeze or Thaw
-
Interior Walls
-
Exterior Walls
-
Shower Walls + Floors
-
Pools + Spas
-
Fireplace Surround
-
Radiant Heating Compatible
-
Sealing Required
-
Interior Floors – High Traffic
-
Interior Floors - Low Traffic
-
Exterior Floors – Freeze or Thaw
-
Exterior Floors - Non Freeze or Thaw
-
Interior Walls
-
Exterior Walls
-
Shower Walls + Floors
-
Pools + Spas
-
Fireplace Surround
-
Radiant Heating Compatible
-
Sealing Required
Choose options
Specifications
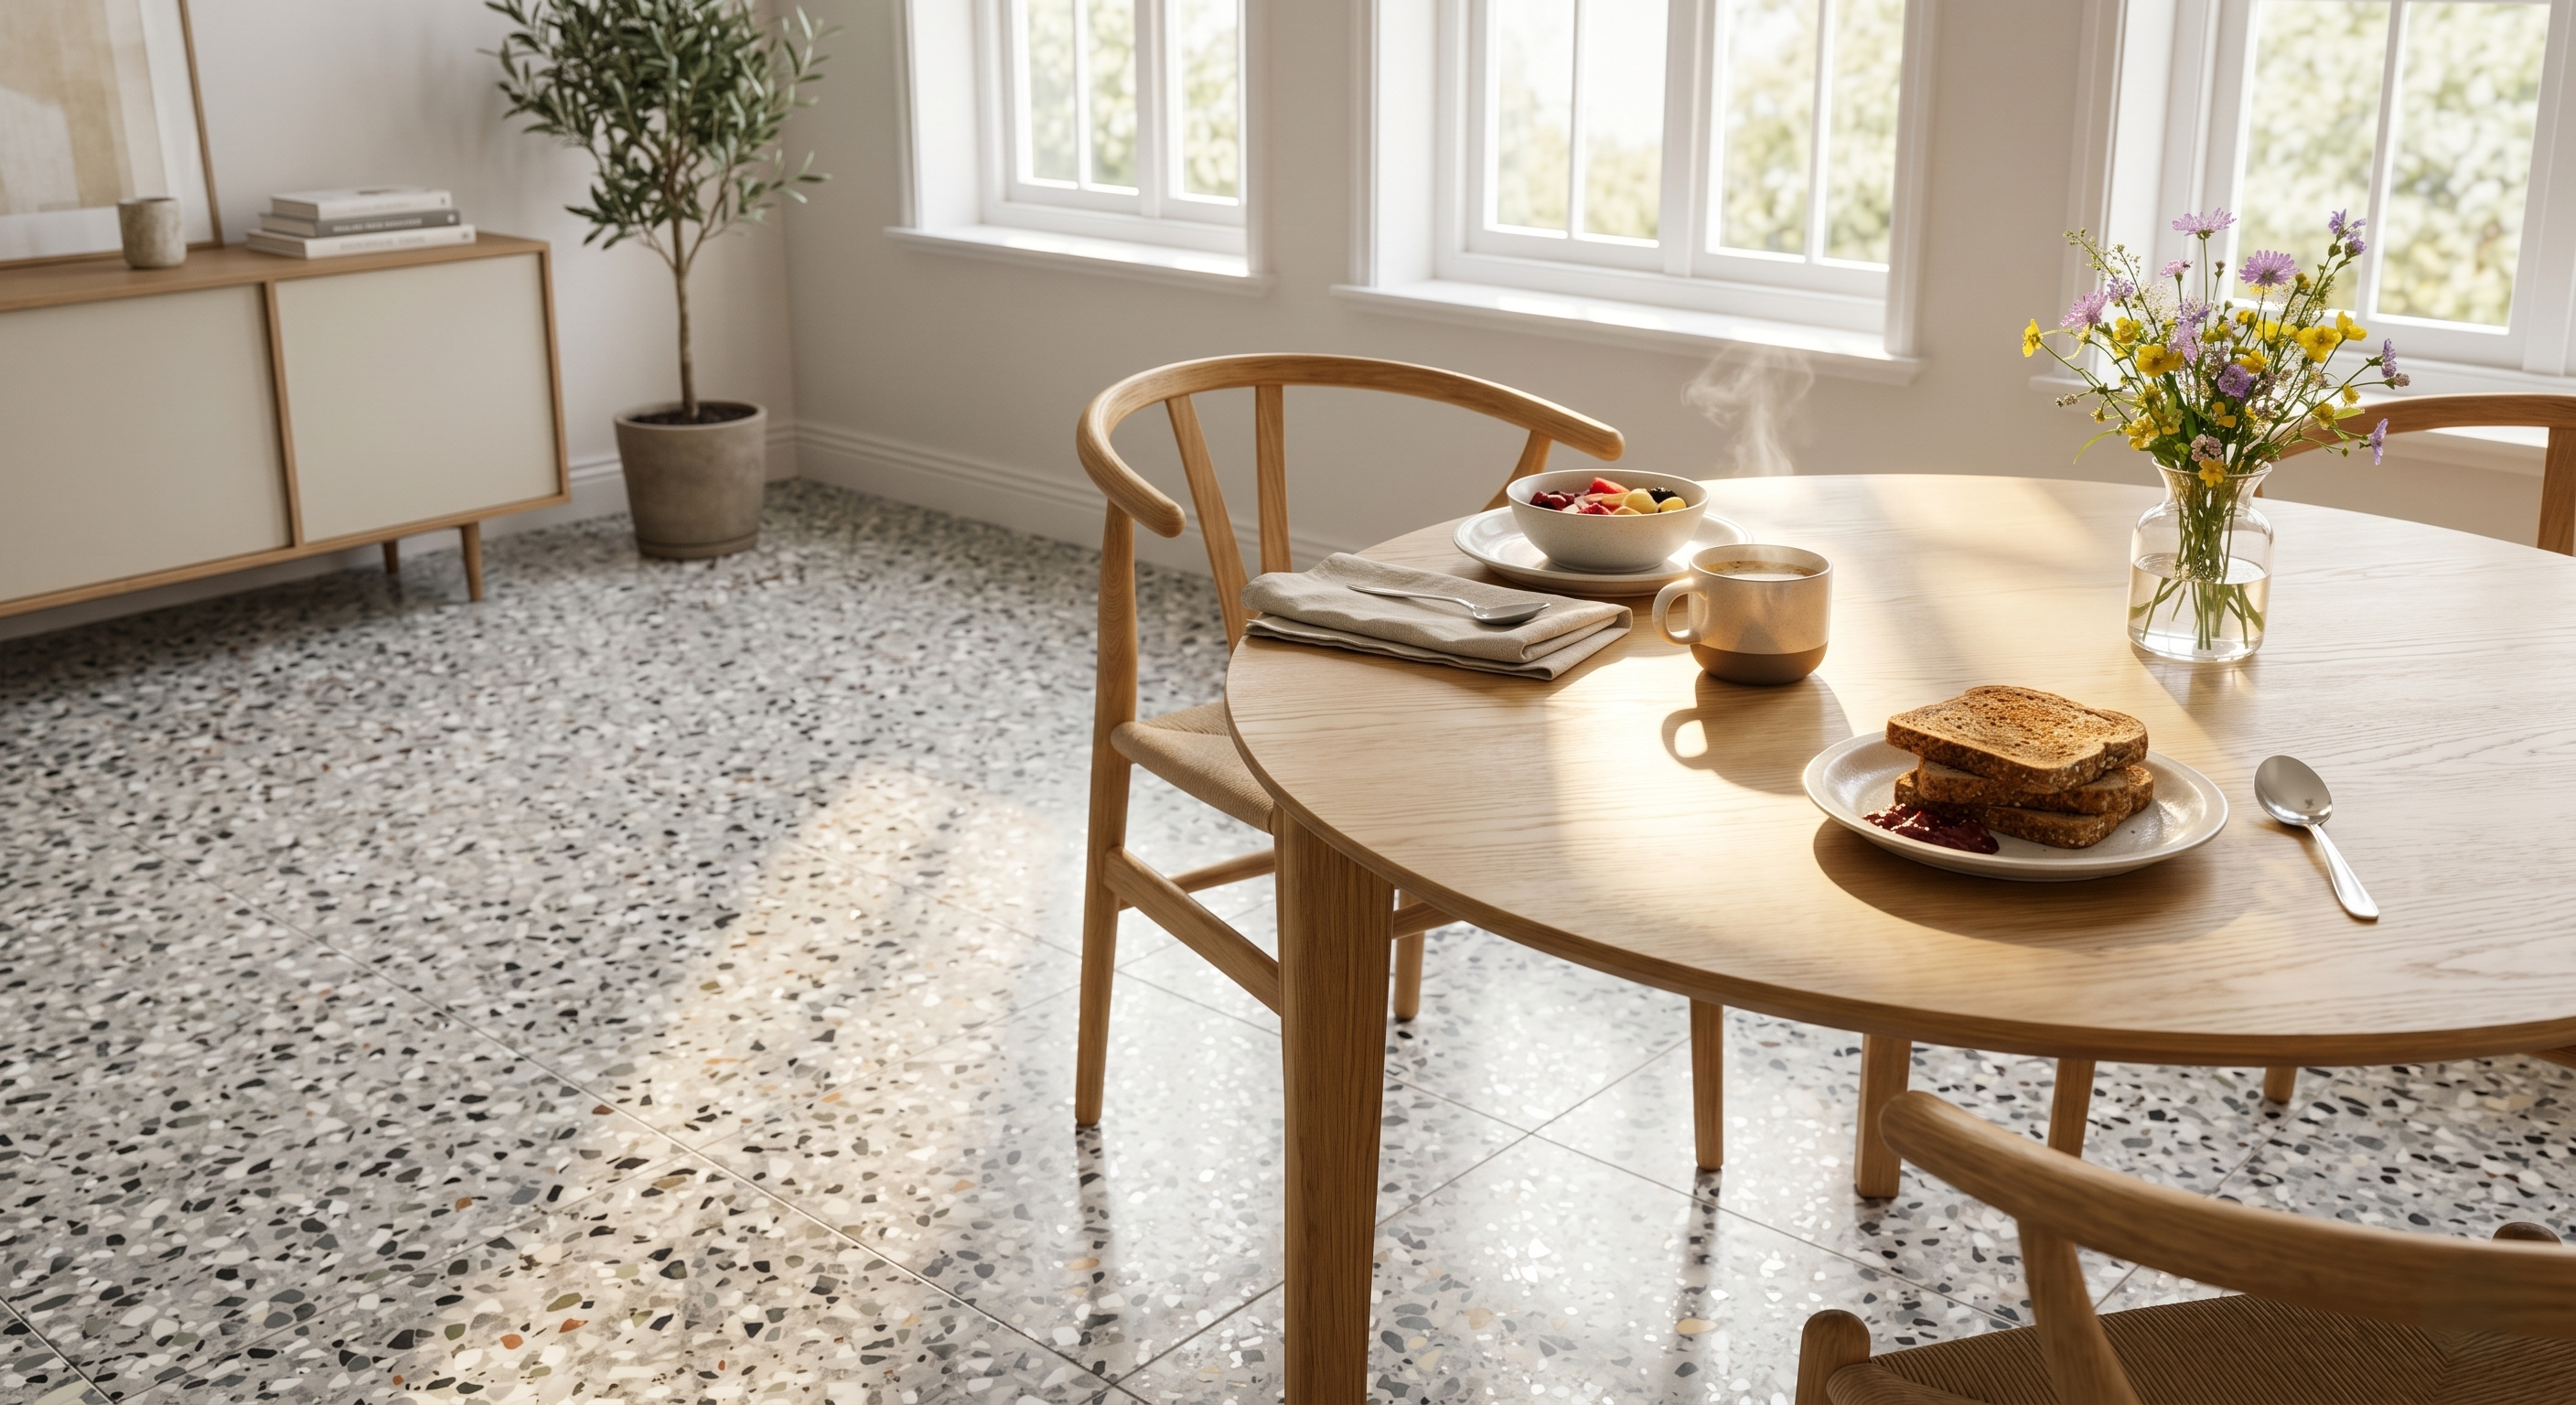

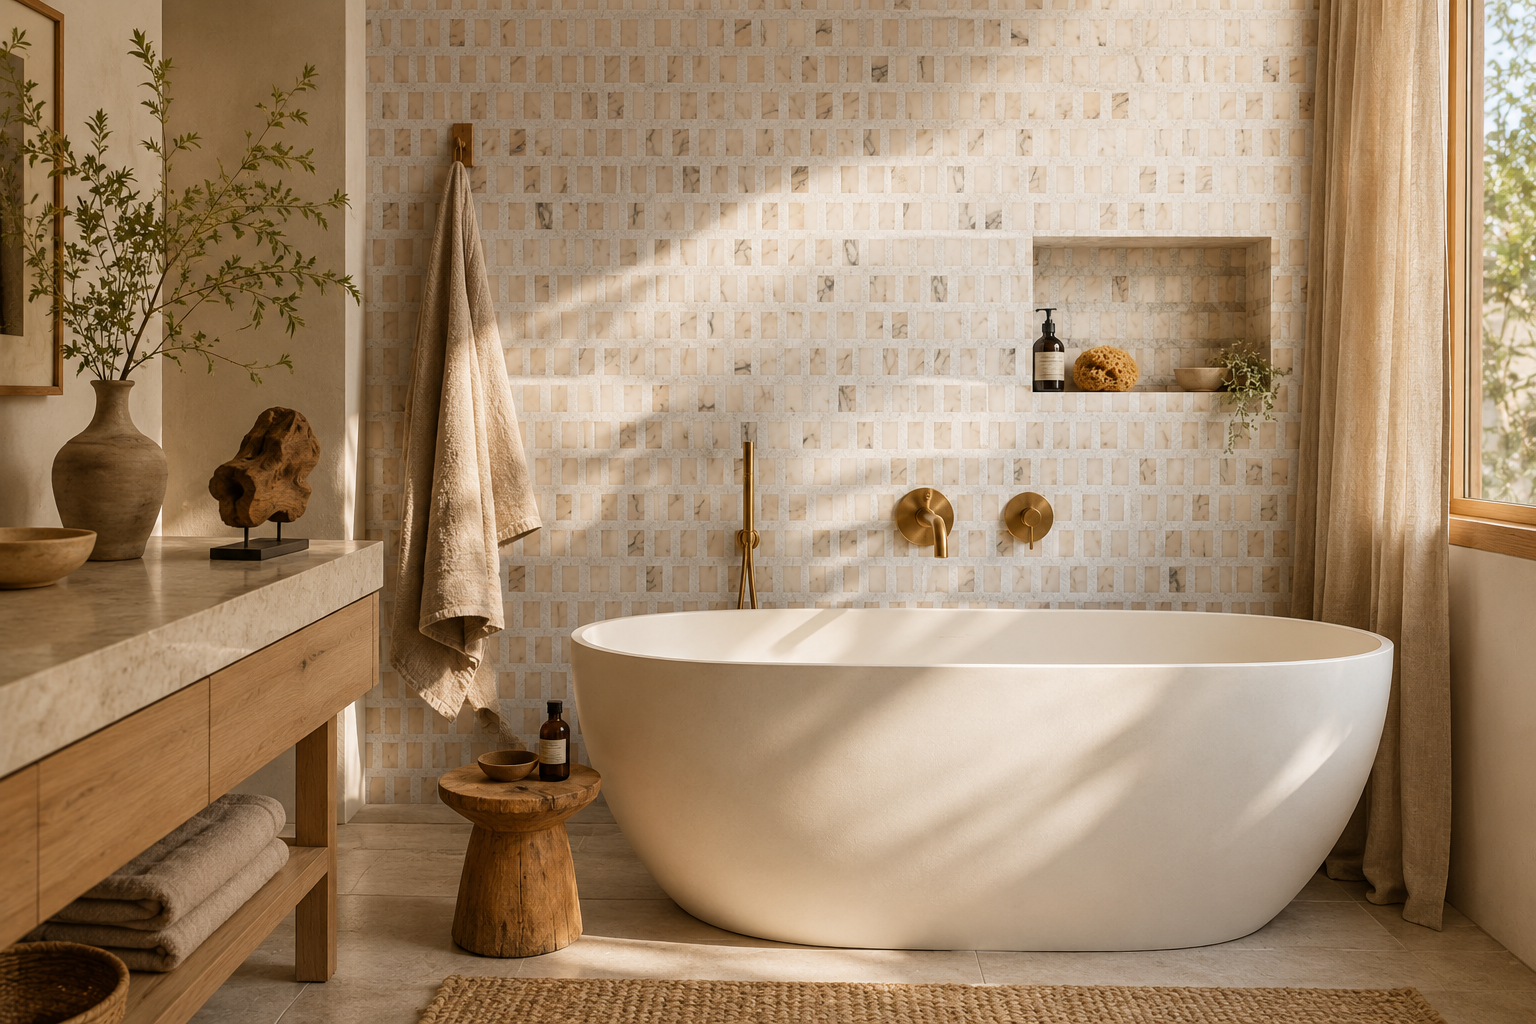
TERRAZZO CHARM
Every space deserves terrazzo as distinctive as it is. We craft each custom order around your visions-selecting colors, aggregates, and finishes that reflect your exact aesthetic. Whether you're designing a boutique retail environment, a welcoming lobby, or a residential sanctuary, our team collaborates with you to create a surface that's truly one-of-a-kind.
Ready to start? Reach out to discuss your project and bring your design to life.
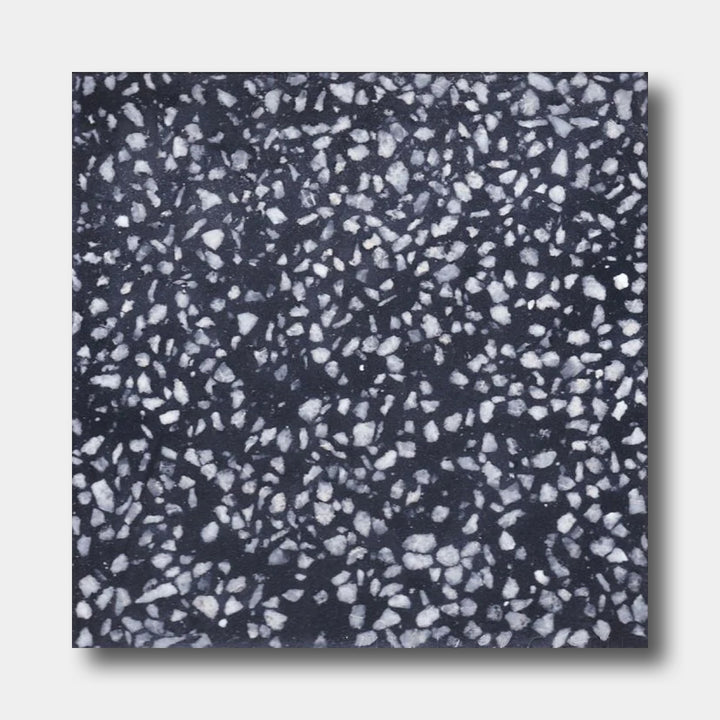
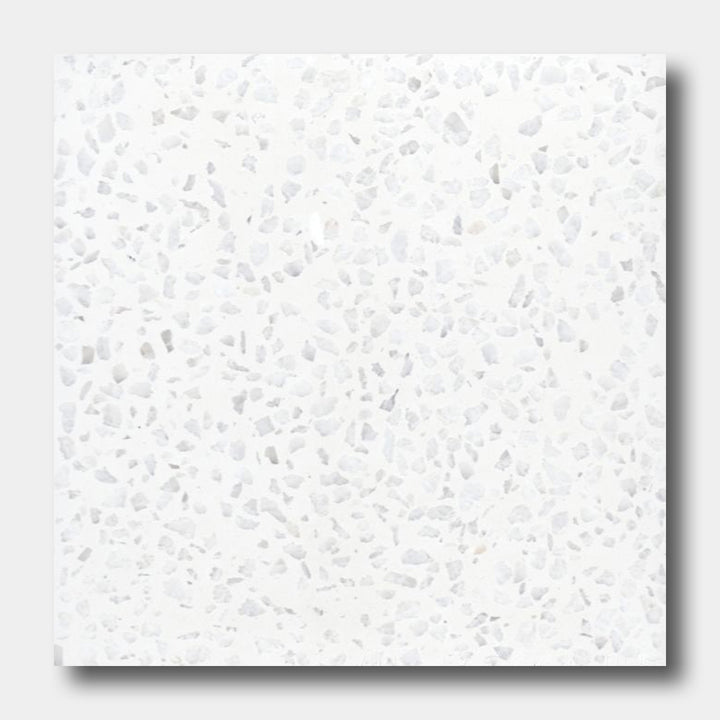
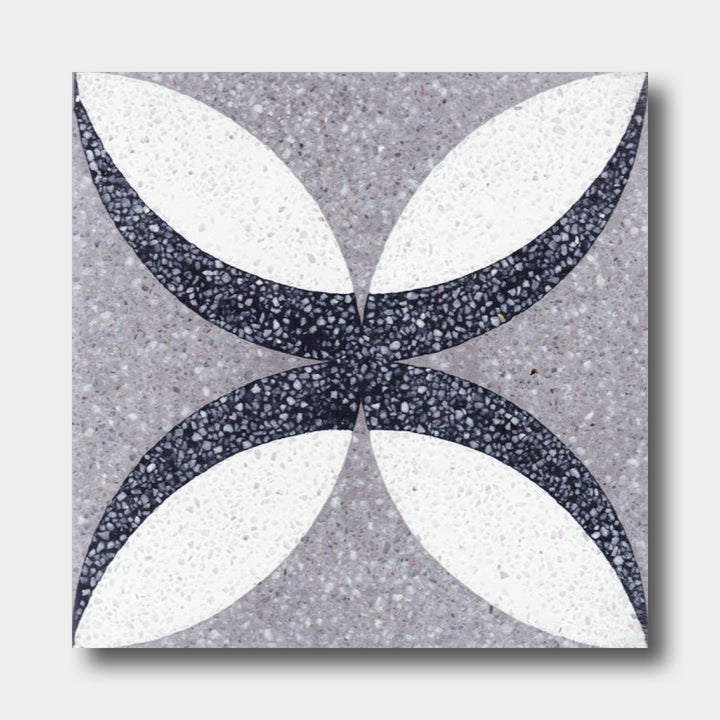
THE BEAUTY OF HANDMADE Terrazzo
Each tile is handcrafted using mineral pigments, fine cement, and marble or stone chips. Pigments are hand-poured into brass molds, layer by layer, then hydraulically pressed to bond the pattern into the tile itself. No firing, no glaze—just dense, color-rich surfaces made to last..
Our terrazzo tiles are available in the following standard sizes:
- 24" x 24" x ⅝" (600 x 600 x 20 mm)
- 12" x 12" x 3/4" (300 x 300 x 18 mm)
- 8" x 8" x ½" (300 x 600 x 13 mm)
All dimensions are nominal. As with all handmade cement products, variation in thickness, size, and tone is expected and part of the material’s natural beauty.
Contact us for Custom Options!
Proper grouting ensures both the durability and appearance of your terrazzo installation.
Recommended Grout
- Mapei Flexcolor CQ (preferred) or other unsanded cementitious grout
- Grout joint: 1/16" for clean, refined lines
- Use white thin set for most applications
Step-by-Step Grouting
- Prep the Area: Ensure tiles are clean, sealed, and fully cured before starting.
- Test Grout Color: Always test grout on-site under final lighting before proceeding.
- Apply Grout: Using a rubber grout float, work in small sections (2' x 2' max).
- Wipe Excess Immediately: Use a damp sponge to remove grout residue from tile faces right away.
- Avoid Haze: Do not grout the entire area at once. Terrazzo is porous—unsealed areas may stain.
- Cure Time: Allow grout to cure fully (per manufacturer instructions, usually 48 hours).
- Final Seal: Once grout has cured, clean the surface and apply a final coat of sealer to both tiles and grout lines. For interiors, apply a protective wax topcoat if desired.
Grout Color Tips
Avoid dark or high-contrast grout unless using a grout bag and sealing thoroughly before and after. Lighter grout colors generally provide a more timeless and clean look.
TOOLS FOR INSTALLATION
- Sponge
- Bucket
- 1/16” tile spacers
- High-quality medium-bed thin set mortar
- Trowel
- MAPEI Flexcolor CQ grout (neutral color recommended)
- Grout float
- Grout bag (for precise application with contrasting grout)
- Water-cooled tile saw with diamond blade
FOR CLEANING & SEALING
- pH-neutral cleaner (e.g., Miracle Sealants Heavy Duty Cleaner – Acid Substitute)
- Lint-free cotton cloths
- Paint roller, paint tray, sponge
- Water bucket
Interior Sealers:
- 511 Porous Plus Sealer
- Fila Matte Finish Protective Wax
Exterior Sealers:
- 511 Porous Plus Sealer only
To ensure proper installation based on unique project and/or site conditions, clients are responsible for hiring a skilled installer that has experience in installing and sealing terrazzo tiles.
TILE CUTTING
Use only a water-cooled tile saw for all cuts. Dry cutting can damage the tile and create excess dust.
FLOOR INSTALLATION
Ensure subfloors are cured and level. A quality medium-bed thin set is recommended. If moisture content is high or settling is suspected, an uncoupling membrane (e.g., Schluter DITRA) should be considered to reduce cracking risk.
WALL INSTALLATION
Install only on solid, even surfaces like cement backer board. In dry interior areas (e.g., kitchen backsplashes), you may install over drywall—never over paint.
COMMERCIAL / WET AREAS
Increase grout joint size or apply an anti-slip treatment for safety. Terrazzo has a DCOF rating of ~.51. Always consult your installer regarding slip resistance and project-specific requirements.
SETTING THE TILES
- Apply thin set to the surface with a trowel.
- Lightly dampen the back of each tile before applying mortar to the back.
- Set tiles with firm pressure using your hands (not a mallet).
- Work in sections (no larger than 2’x2’).
- Use 1/16” spacers.
- Immediately clean any thin set from the tile surface.
- Let cure at least 48 hours before grouting or sealing.
SEALING BEFORE GROUTING
Clean tiles with a pH-neutral cleaner and let them dry fully. Apply 511 Porous Plus Sealer in thin layers until saturated, removing excess sealer before it dries. Avoid over-application.
Allow to cure 24–48 hours before grouting.
GROUTING
Use MAPEI Flexcolor CQ grout (neutral tone preferred).
- Grout in 2’x2’ areas max.
- Do not cover the full floor at once.
- Immediately wipe off excess grout to avoid staining.
- If using a darker or contrasting grout, apply by hand or with a grout bag only.
Cure time: 48 hours.
TOP COAT SEALER
Interior Applications:
After cleaning, apply Fila Matte Finish Protective Wax in thin layers. Wipe off excess. Cure time: 24–48 hours.
Do not over-seal, as thick coats may result in a waxy finish.
Exterior Applications:
Use 511 Porous Plus Sealer only (not wax). UV rays may discolor wax-based sealers outdoors.
Always cover tiles with paperboard or protective sheeting during and after installation.
TRIM OPTIONS
We recommend:
- Full wall-to-ceiling installations or
- Bringing drywall flush with tile for a clean edge.
If exposed edges are part of the design, miter tile edges at 45° for a finished look.
If using trim, Schluter strips are recommended (www.schluter.com).
ONGOING MAINTENANCE
Wear & Patina:
Expect natural wear, surface lines (crazing), and a patina to develop over time—this is part of terrazzo’s character.
CLEANING
- Vacuum/sweep regularly.
- Wipe spills promptly, especially oil or grease.
- Use only pH-neutral cleaners.
Recommended:
- Miracle Sealants Tile & Stone Cleaner (for routine cleaning)
- Miracle Sealants Heavy Duty Cleaner (for deeper cleaning)
RESEALING
Re-seal every 1–2 years depending on traffic and moisture exposure. Follow sealant manufacturer’s guidelines.
Do I need to seal terrazzo tiles?
Yes. Our tiles come with light pre-treatment, but final sealing is essential—especially in wet areas.
Do you offer trim?
We follow a no-trim approach. Use mitered edges, honed finishes, or drywall returns for a clean look.
What finish should I expect?
Our terrazzo has a honed, matte surface with beveled edges, showcasing the natural variation of each piece.
How do I clean terrazzo?
Use only pH-neutral cleaners. Avoid acids. Sweep or mop regularly. Re-seal as needed—typically every 1–2 years.
Why order 15% extra?
To cover cuts, breakage, blending, and future repairs. It’s industry standard and ensures a seamless install.

