BREEZE BLOCK INSTALLATION TIPS & GUIDANCE
WE ENCOURAGE OUR CLIENTS TO CONSULT A SKILLED TILE SETTER FOR THR INSTALLATION

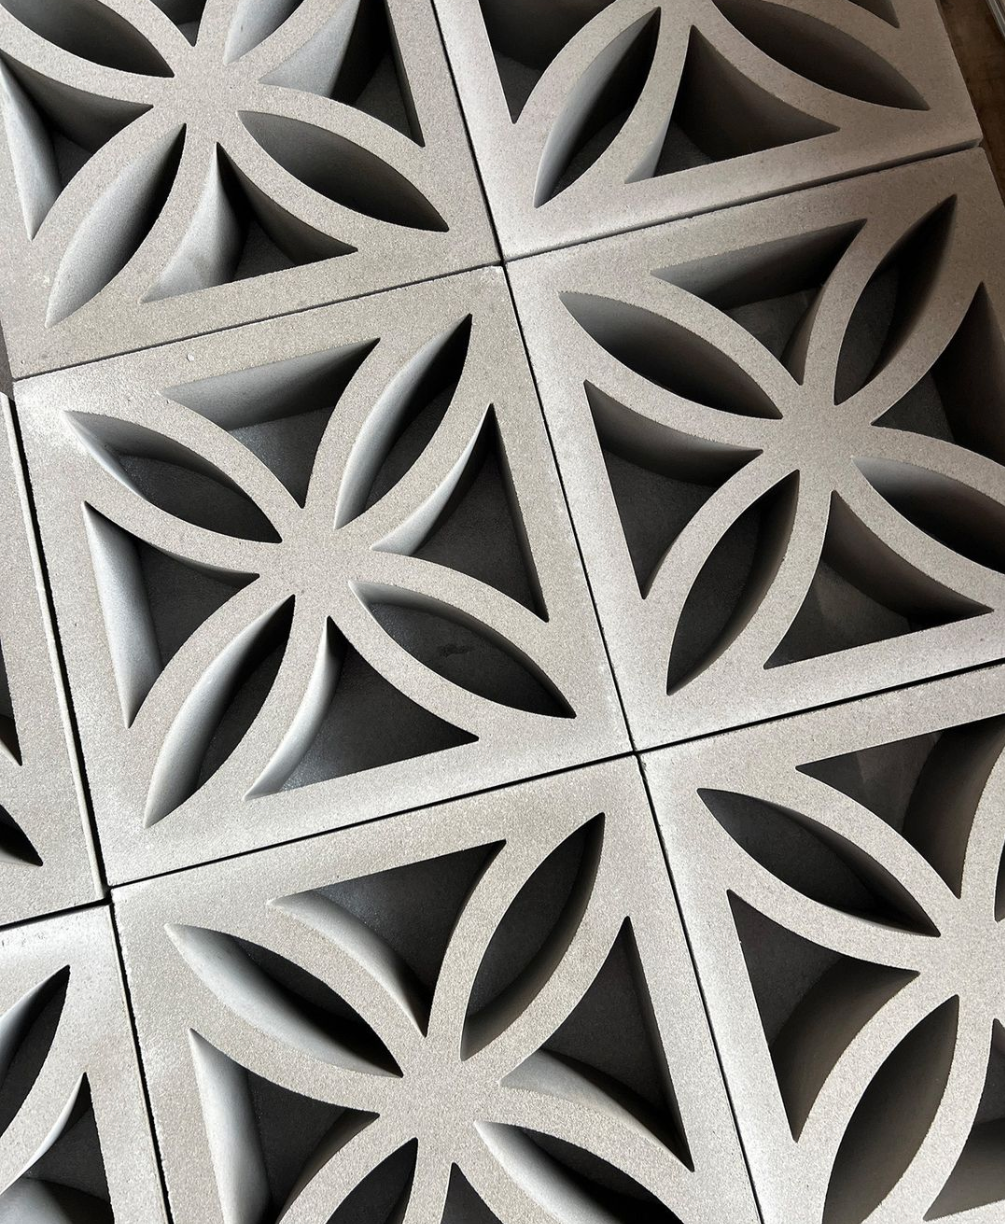
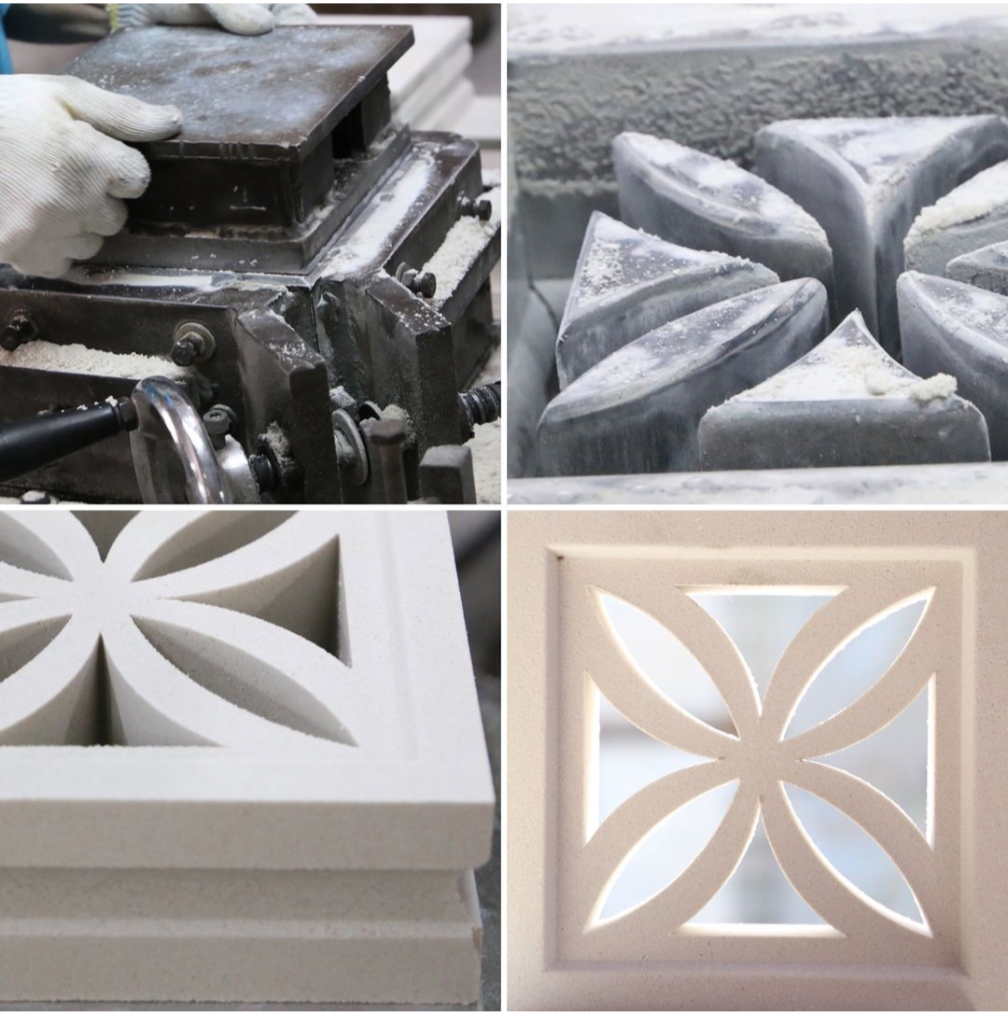
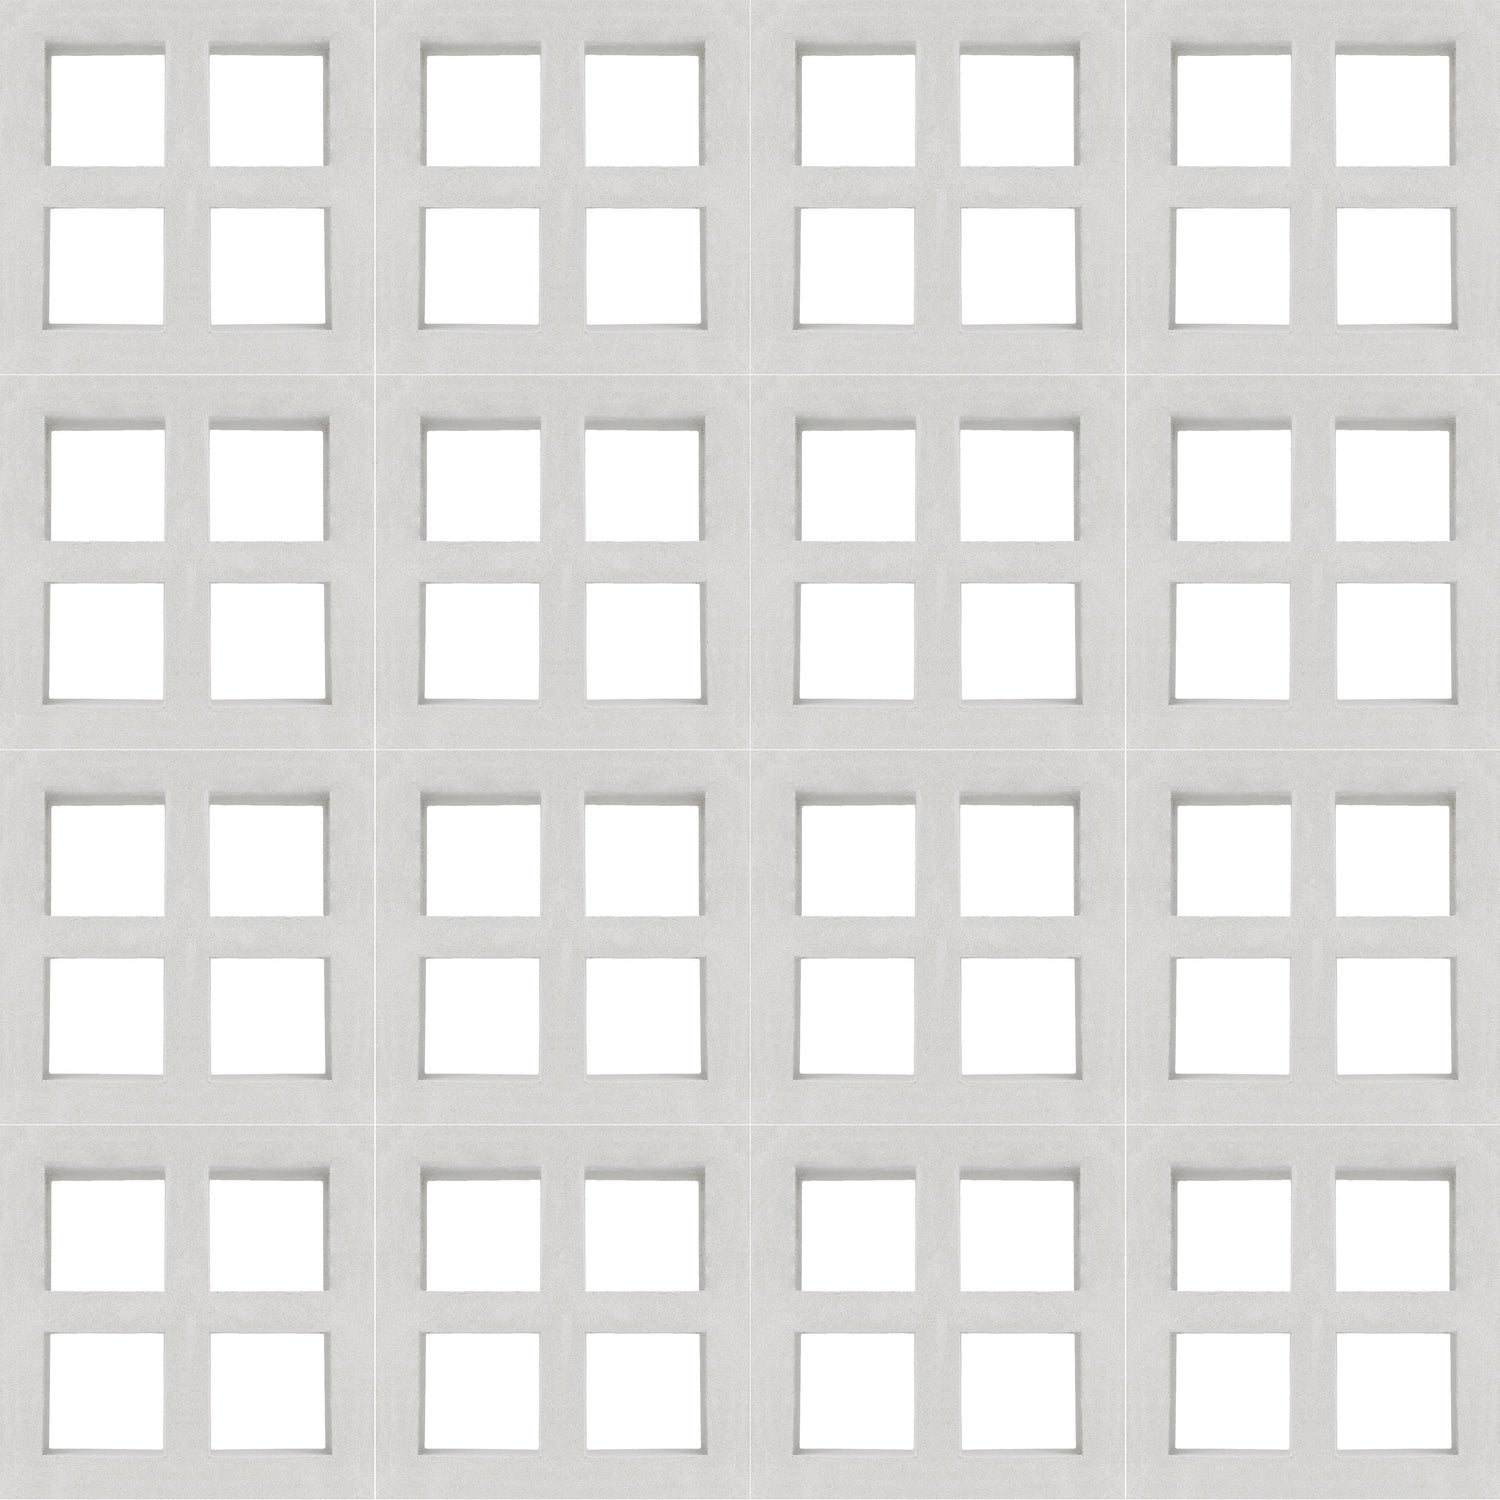
Breeze blocks,with their patterned designs and ventilation benefits,are a stylish addition to both indoor and outdoor spaces.
Breeze Blocks are decorative, and are not intended for load-bearing walls. Breeze block wall spans should not exceed 3 meters (9.8 feet). Structural pilasters, steel H-beams, steel bar plates,or other similar vertical supports should be incorporated to allow for longer walls. Lintel beams
or similar load-bearing structures should be incorporated for walls exceeding 2.5 meters (8 feet) in height. These supports should meet your local building code, and be planned by a structural engineer, general contractor, or other licensed professional.Our Breeze Block designs incorporate channels to
accommodate steel dowel or rebar reinforcement, to anchor installations to the surrounding structure and increase the wall’s flexural strength. Consider using epoxy-coated rebar, or other forms corrosion protection, to extend the lifespan of your structure.
Before You Begin:
- Check Local Codes: Breeze block walls may have limitations on height and require structural support depending on your local building code. Consult a professional or your local building department to ensure your planned installation adheres to regulations.
- DIY vs. Professional: Breeze block installation can be complex, especially for larger projects or load-bearing walls. Consider your experience level and the complexity of your design before deciding to tackle it yourself.
Site Preparation:
- Solid Foundation: The base for your breeze block wall needs to be strong and level. This could be a concrete slab, foundation footing, or a structurally sound existing wall.
- Planning and Layout: Sketch your design, considering block layout, spacing, and any necessary support elements.
- Measure the installation area carefully, factoring in the size of your blocks and desired spacing between them (typically 3/8" to 1/2").
INSTALLATION
Preparing The Foundation
- Capable of bearing the weight of the screen wall segment.
- Clean and level.
- Suitable for mortar installation.
Selecting The Mortar
Mixing Mortar: Use a high-strength mortar mix suitable for exterior applications (if applicable). Refer to the manufacturer's instructions for proper mixing ratios.
The thickness of the mortar layer should be around 2 inches. It will aid in maintaining enough
mortar layer binding when the weight of the top layers forces the lower mortar layers to
become thinner. Understand and follow the directions for the mortal used.
Cement Needs Water To Cure
While it may seem like cement “dries” as it cures, it’s actually a chemical reaction that requires water and continues indefinitely. Fortunately, nearly all of the cement’s strength is reached within 28 days, with about 70–75% of that strength achieved in the first 7 days.
Preparation Tips: Before setting the blocks, submerge them in water for at least 1 minute. This prevents the dry blocks from pulling too much moisture from the mortar, ensuring the joints cure correctly.
Curing After Installation
Once the blocks are laid, water the installation frequently—a minimum of 4 times daily for the first 5 days. For best results, water up to 10 times per day for a full 7 days.
Installation Method
Install by using standard masonry techniques
- Begin your installation at corners or against pilasters, working towards the middle
- Use a 5mm-10mm grout joint (approx ⅜”).
- Maximum 2cm grout joint (approx ¾”).
- Insert steel reinforcement every 3rd course (for 7.5” blocks).
- Make sure not to build too fast for the selected mortar. Your professional mason will know if the grout has cured enough, before continuing with higher courses.
Cutting Blocks (if needed): Use a masonry saw with a diamond blade to cut breeze blocks for corners or custom designs.
Filling Joints: Once all the blocks are laid, and the mortar has cured sufficiently (refer to mortar manufacturer's recommendations), fill the spaces between the blocks with grout. Use a grout bag or jointing tool to ensure complete filling.
After Installation
- Make sure to maintain proper hydration for 7 days.
- Expect about 30 days before the installation can be painted, or other finishes applied, depending on the local climate.
Finishing Touches:
- Cleaning Up: After the grout has set, remove any excess material with a damp sponge or cloth. Follow the grout manufacturer's cleaning recommendations.
- Sealing (Optional): Depending on the material and desired finish, you may choose to seal the breeze blocks for added protection from the elements.


MORE TIPS
- Breeze blocks are not weight-bearing elements on their own. For taller walls or those spanning large distances, consult a structural engineer to determine if additional support beams or columns are necessary.
- Wear gloves and safety glasses during installation to protect yourself from cuts or debris.
By following these steps and considering the additional points, you can install your breeze blocks and create a beautiful and functional feature in your space. Remember, consulting with a professional mason or structural engineer is always recommended for complex projects or if you have any doubts about the structural integrity of your design.
These installation instructions are offered as guidelines only. New York Cement Tile will not be held responsible for errors, problems or issues due to installation.

