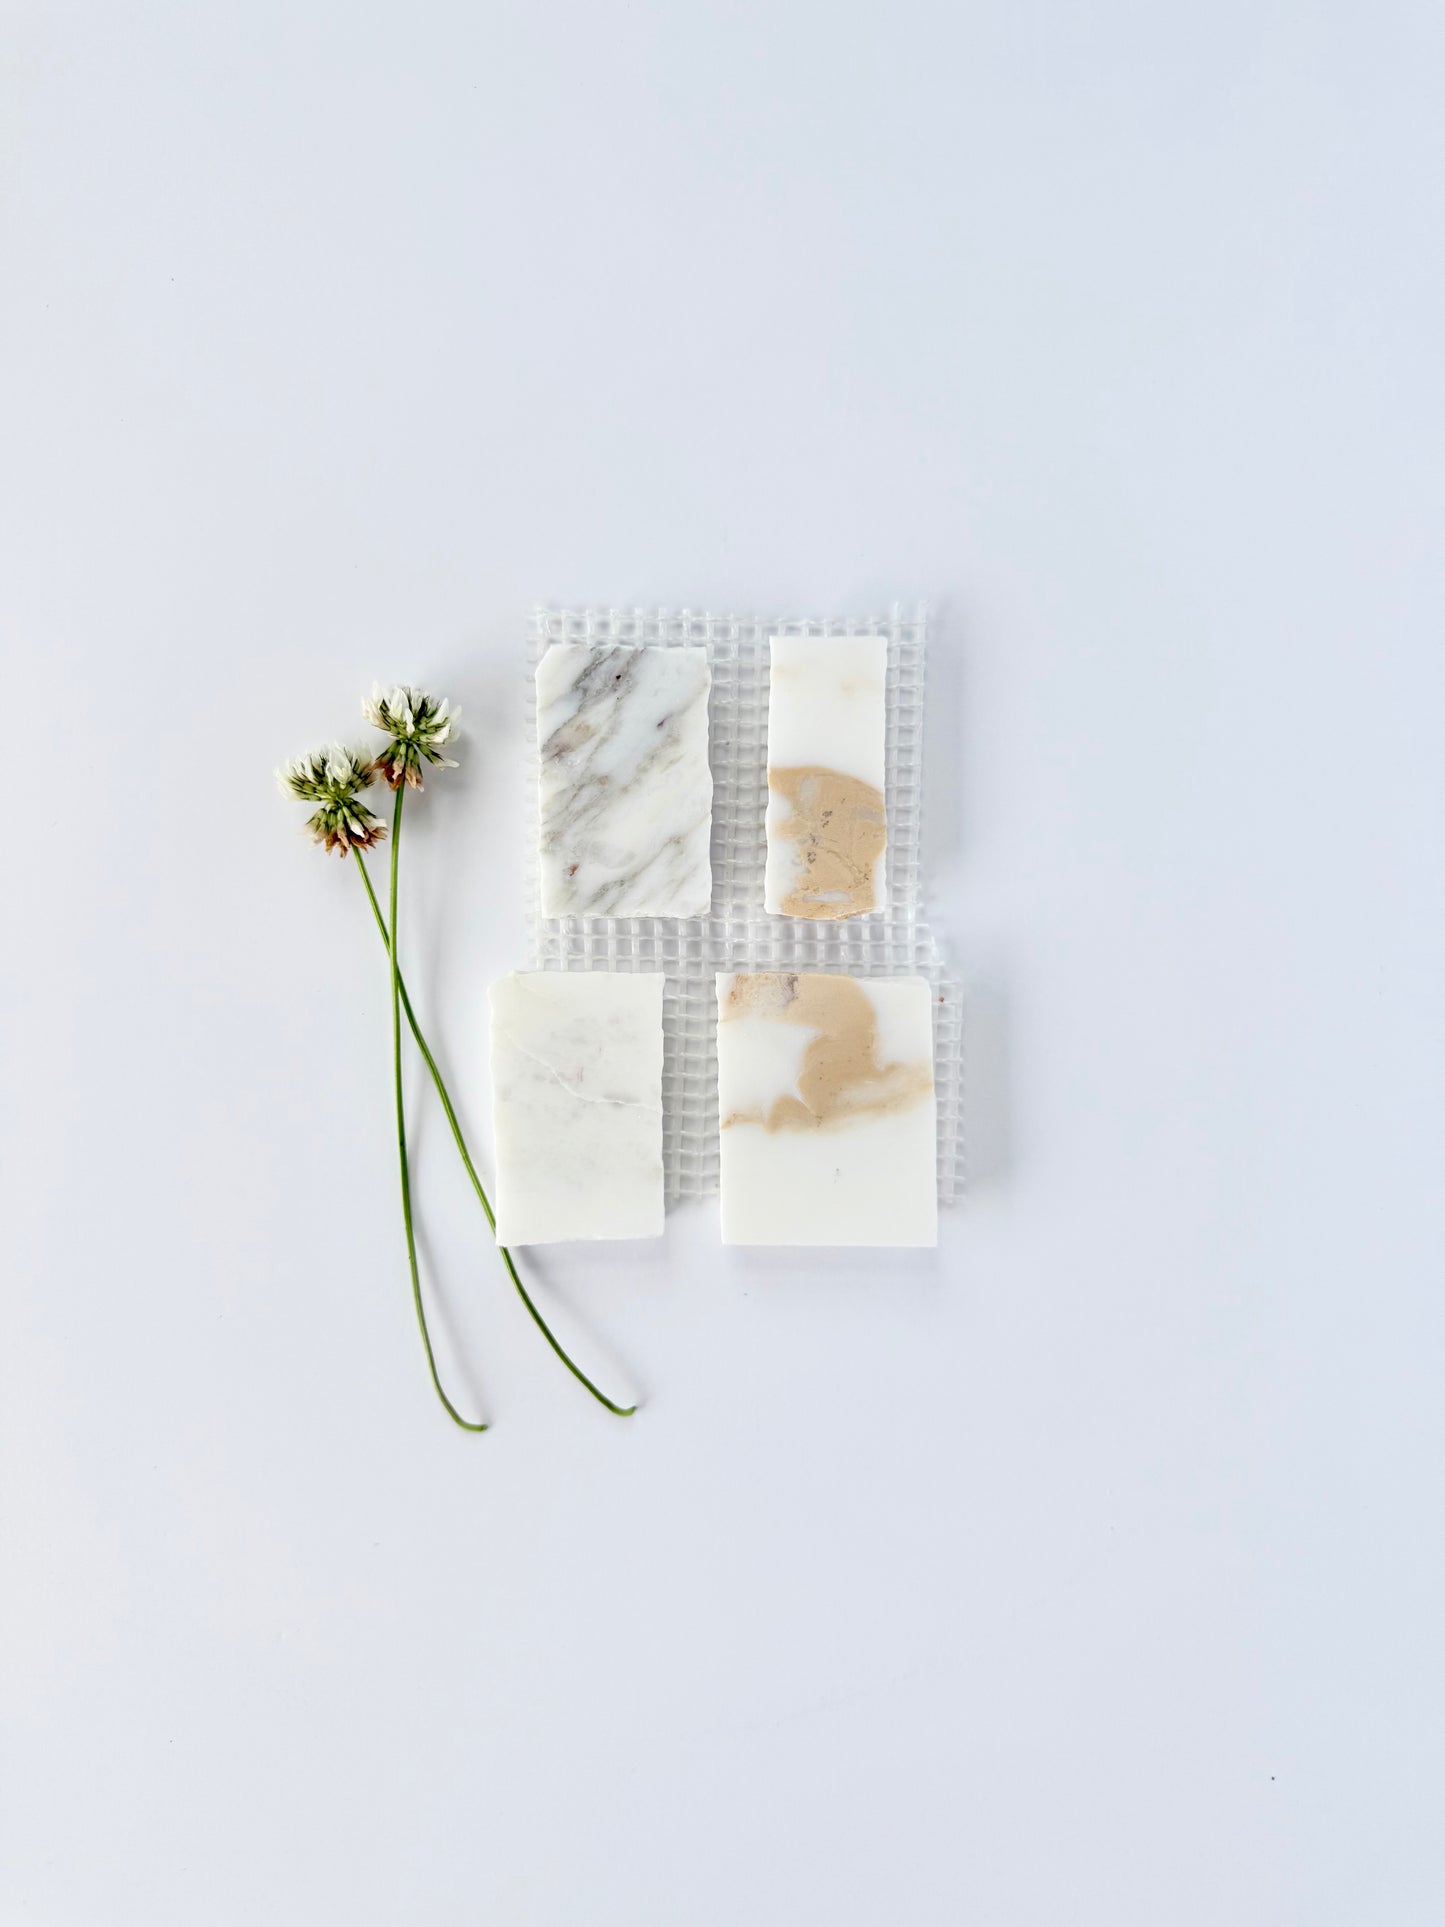
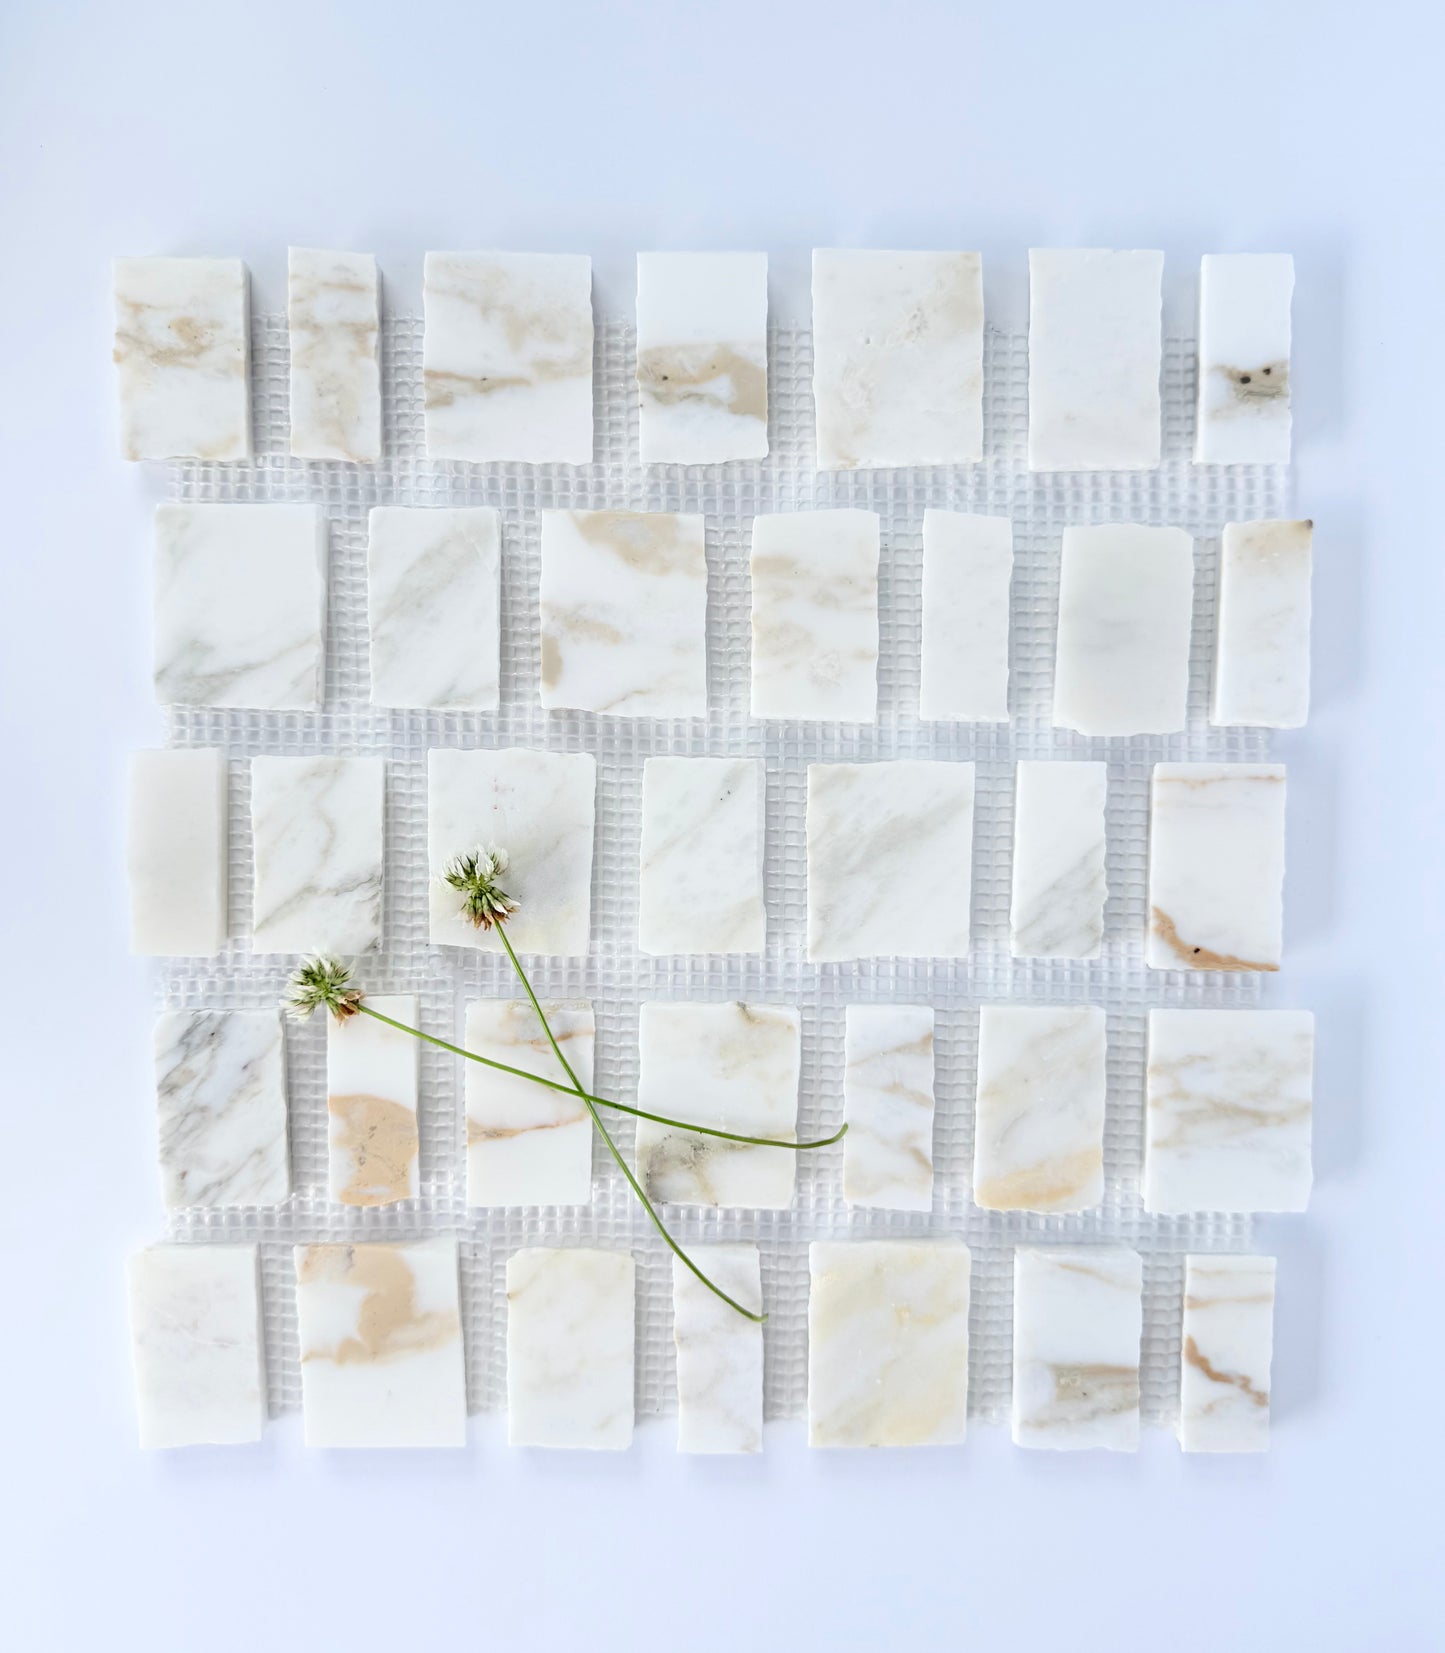
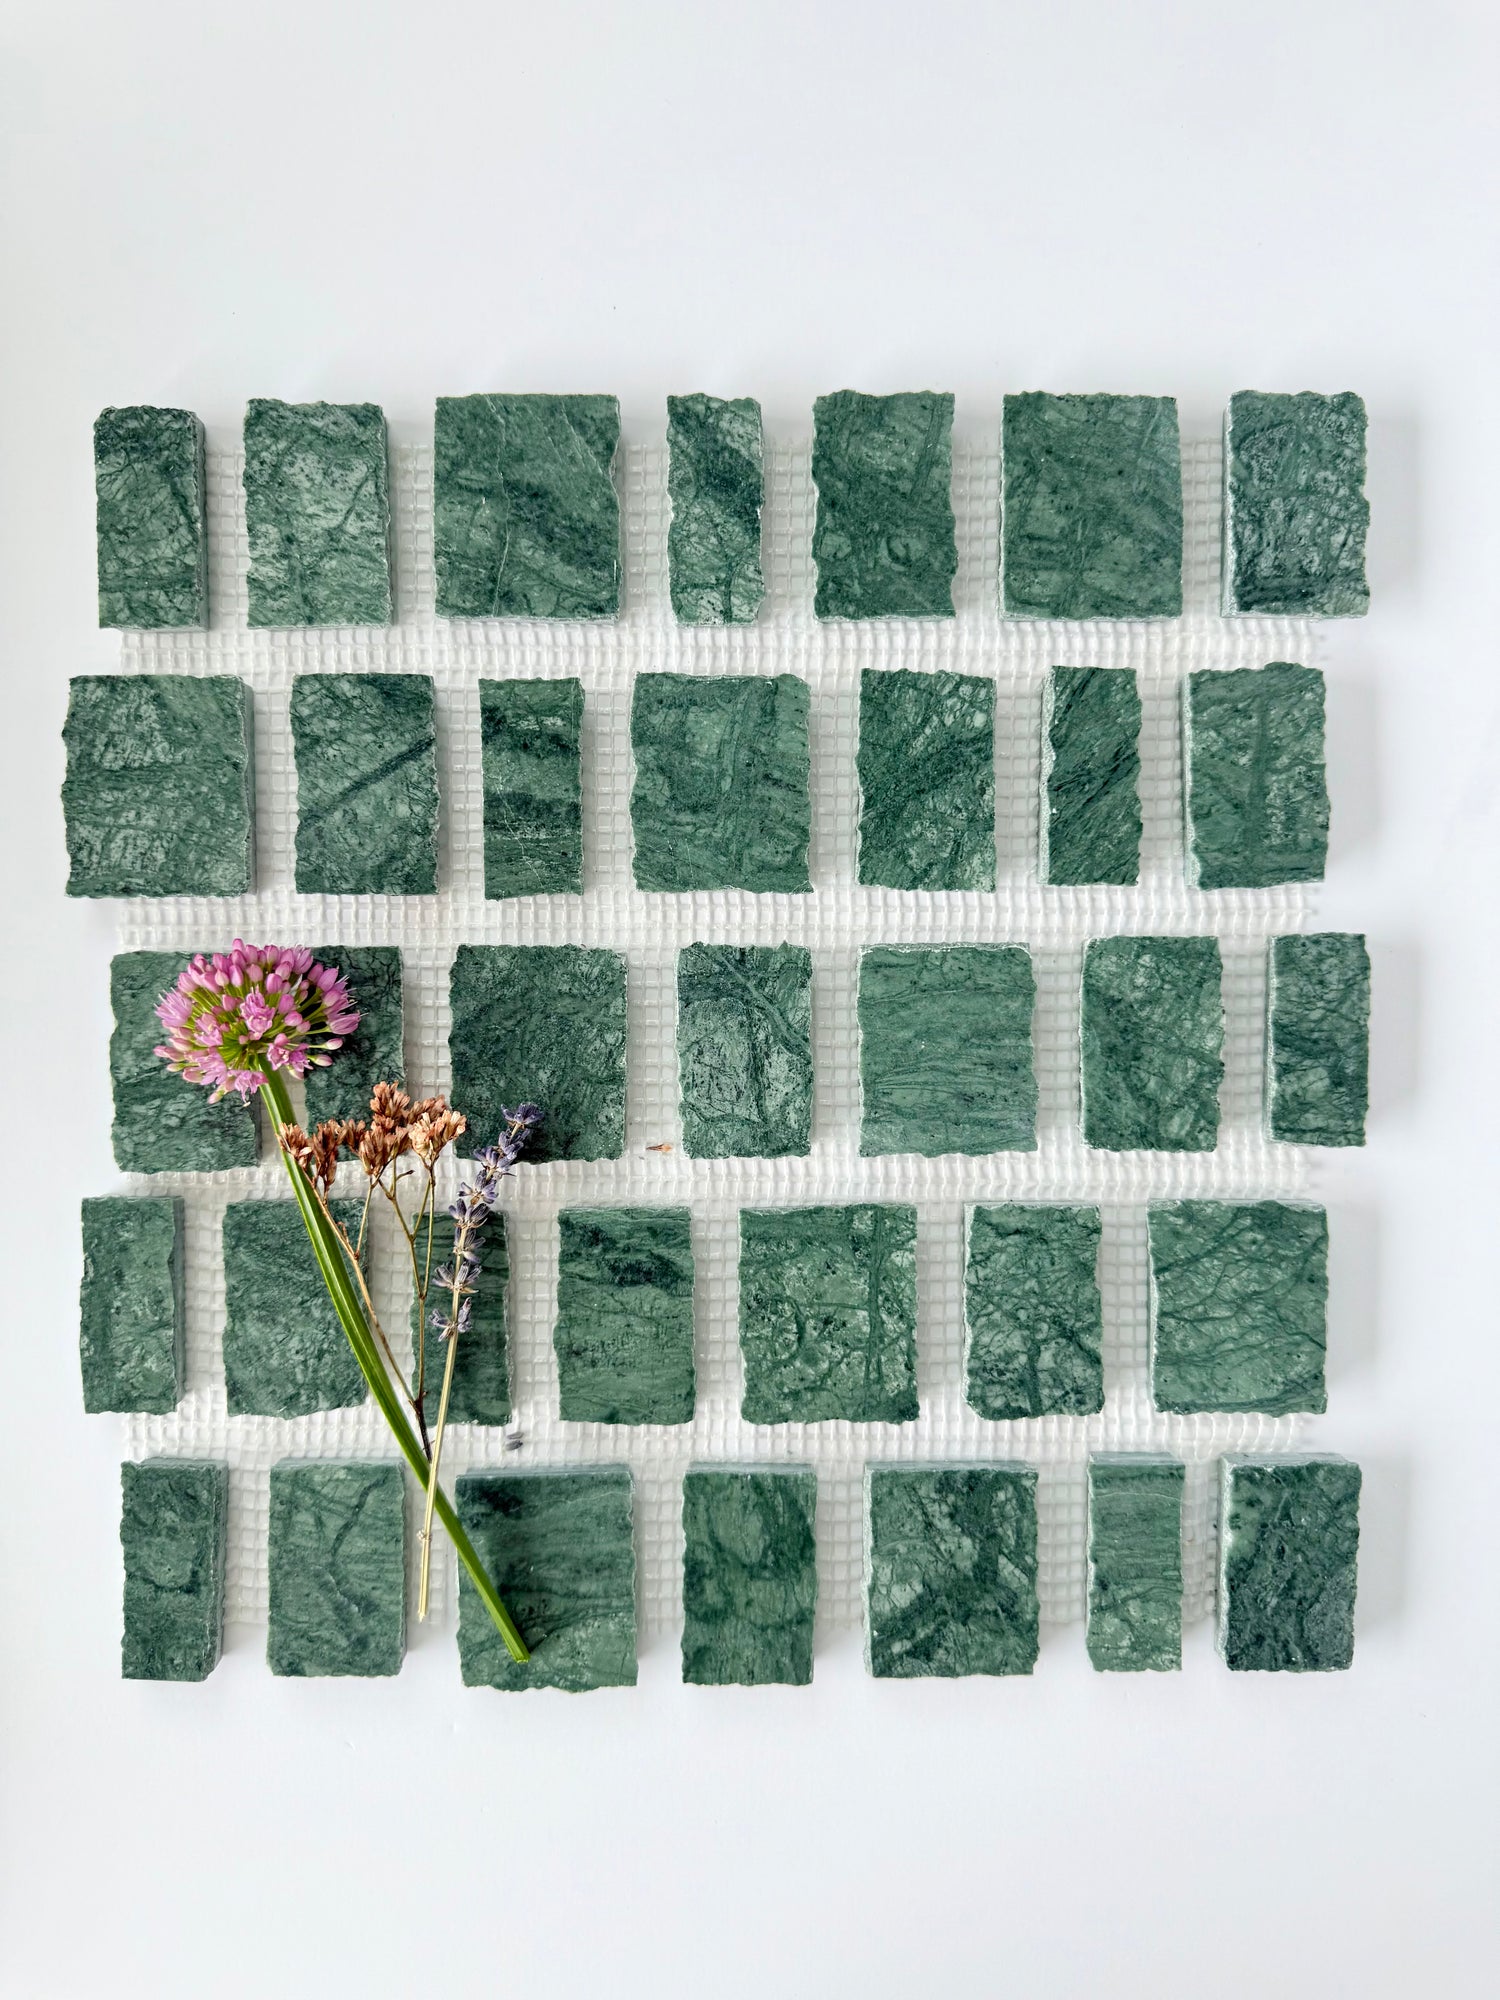
Scarpa I Calacatta Viola Mosaic Marble Mesh, Sample
Scarpa I Calacatta Viola Mosaic Marble Mesh, Sample
Specifications
Size
12" x 12¼" x ⅜" Large Joint
Thickness
⅜" Large Joint
DISCLAIMER
disclaimer: please note all dimensions are nominal. additionally, dimensions can vary +/- ⅛ inch”
MINIMUM ORDER: 100 SQ FT
MADE TO ORDER — SHIPS FROM WAREHOUSE IN 8–12 WEEKS
Where Geometry Meets Soul: The Carlo Scarpa Mesh Collection
Inspired by the refined glamour of 1970s Milan, the Carlo Scarpa Mesh Collection pays tribute to Italian design at its most subtle and sophisticated.
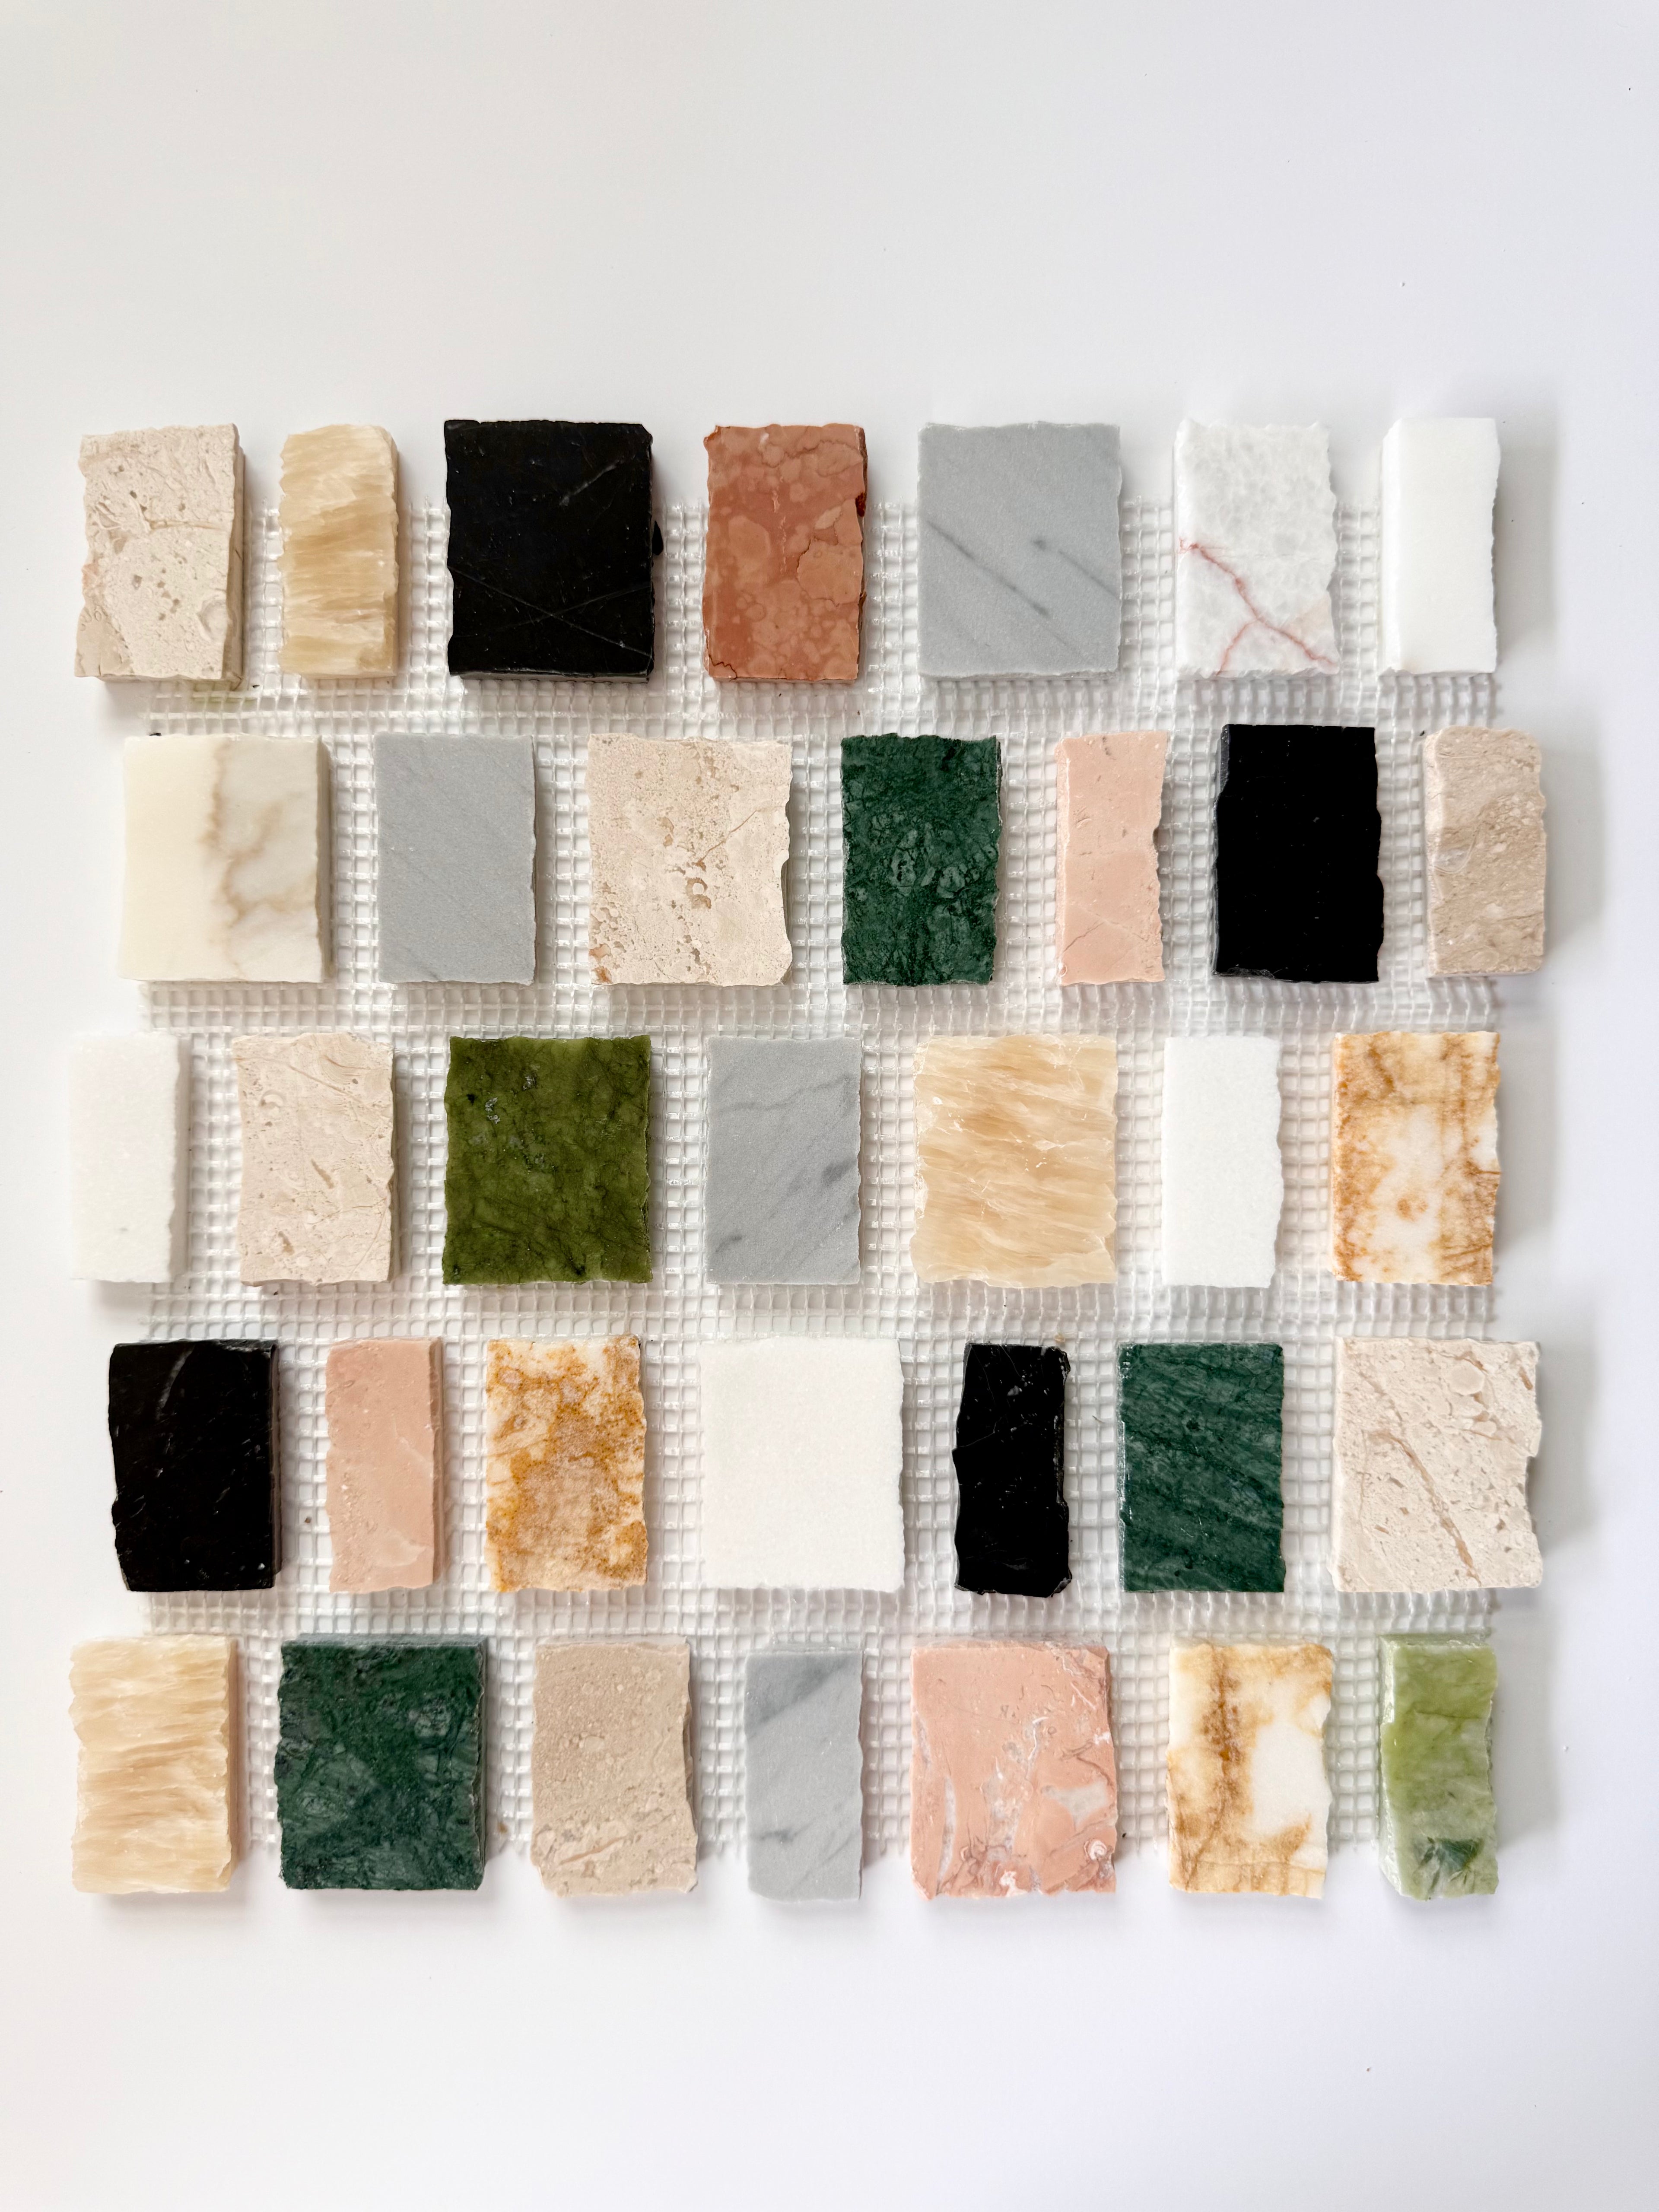
Drawing from Scarpa’s architectural legacy, the collection fuses geometry and emotion — precision and soul. Each mesh-mounted tile, crafted from richly honed marble and stone, features sculptural, irregular cuts that feel both architectural and organic.
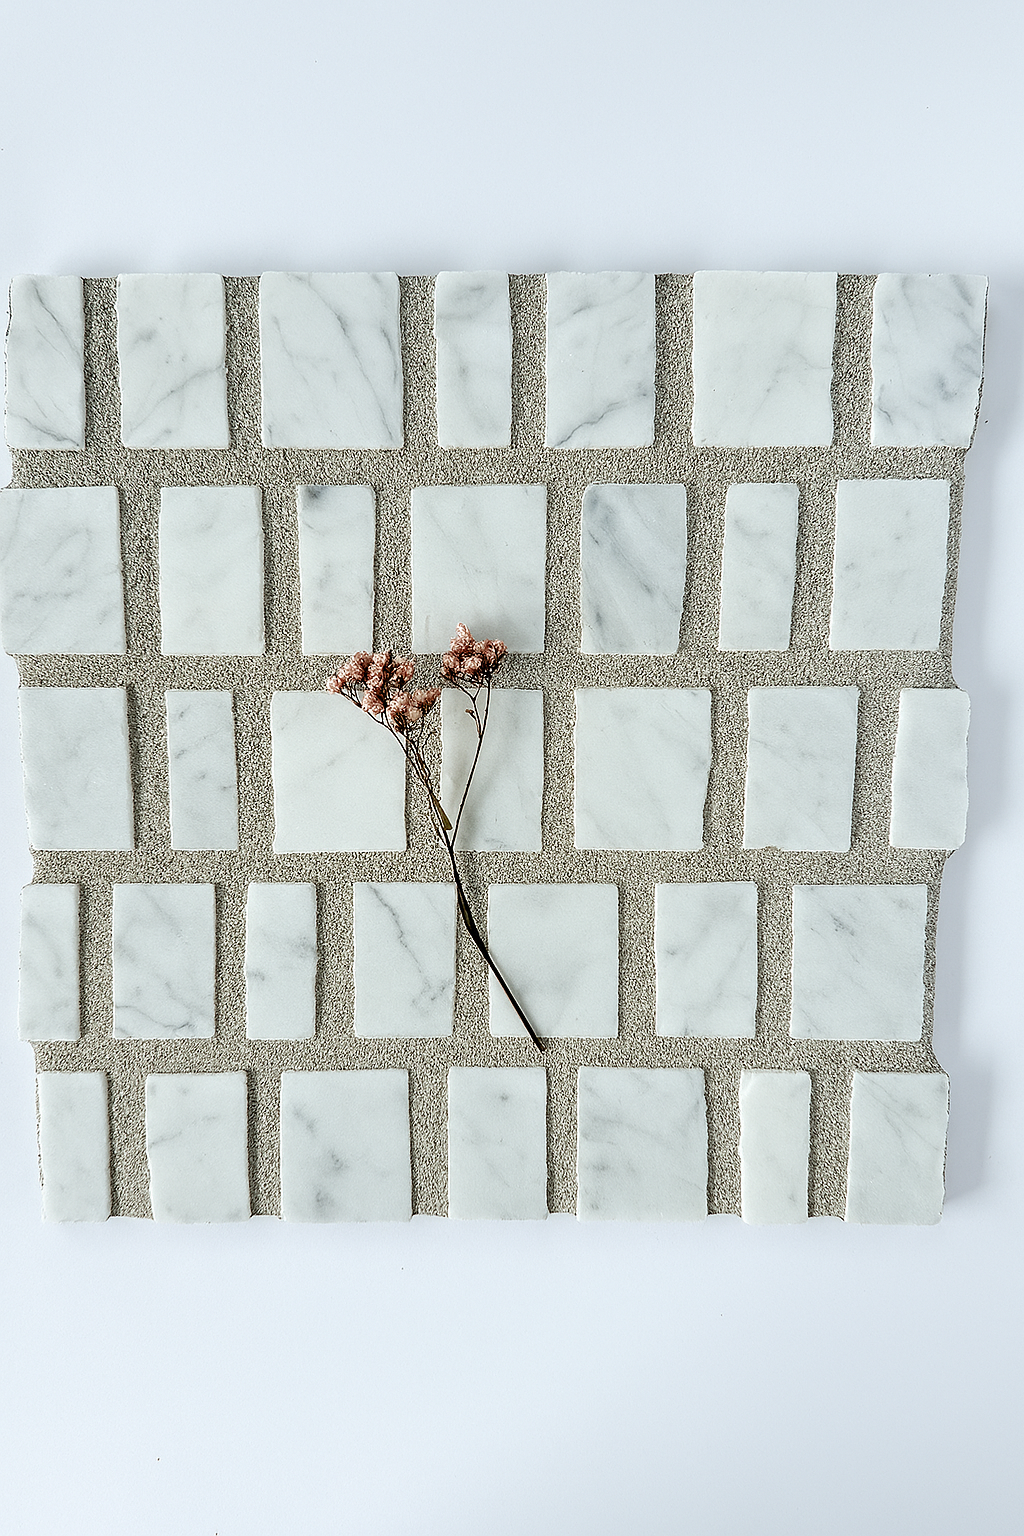
The dual grout spacing options — tight and refined or open and expressive — allow for a personalized rhythm of light and shadow. Travertine’s soft ivory veining and porous texture offer design flexibility: leave unfilled for natural depth or grout for a smoother finish.
THE BEAUTY OF CARLO SCARPA
MARBLE MOSAIC MESH CHARM
Rooted in the refined glamour of 1970s Milan, our Carlo Scarpa Marble Mosaic Mesh Collection is an ode to Italian design at its most understated, cultivated, and effortlessly luxurious. This series channels Scarpa’s architectural mastery — marrying geometry with emotion, and structure with soul.
Crafted in richly honed marbles and stones, each mesh-mounted tile features irregular, architectural cuts that feel both sculpted and organic. The interplay of smooth planes and textured edges reflects a balance between modernist precision and timeless craft.
With dual grout spacing options — from precise to expressive — the collection invites you to curate your own rhythm of shadow and depth. The porous beauty of travertine, with its soft ivory veining and natural surface markings, speaks to the raw elegance of nature, while offering flexibility: leave it unfilled for texture or grout it for a more refined surface.
Whether used as an accent or boldly across entire surfaces, this collection evokes a sensibility that is deeply Italian, deeply architectural, and unapologetically beautiful.
HOW THEY’RE MADE
Each tile in the Carlo Scarpa Marble Mosaic Mesh Collection is meticulously handcrafted from premium natural marbles and stones, selected for their unique character and veining. The process begins with large stone slabs that are cut into a series of geometric shapes — squares, rectangles, and custom proportions — inspired by Carlo Scarpa’s architectural language.
These pieces are then individually honed to a matte finish that enhances the natural texture and tone of the material. Rather than being machine-cut to exact repetition, slight irregularities in size and edge are preserved, lending an organic, architectural feel that’s both modernist and handmade.
Once shaped, the pieces are carefully arranged and mounted on mesh backings for ease of installation. The layout is designed to allow for either tight or open grout spacing, depending on the desired visual rhythm.
The final result is a modular tile system that brings depth, texture, and refined imperfection to any space — a balance of craft, materiality, and Scarpa-inspired geometry
COLLECTION DIMENSIONS
12" x 12¼" x ⅜" Large Joint
Please note that all dimensions are nominal and may vary by ±⅛ inch.
GROUT
Grout & Installation Guidelines — Carlo Scarpa Marble Mosaic Mesh
By New York Cement Tile
Recommended Setting Materials
We recommend using high-quality mortar and grout that meet ANSI A118 or ISO 13007 standards. These standards ensure performance and durability across various surfaces and environments.
Please consult your professional tile installer to determine the most appropriate setting materials based on your project’s specific conditions — including surface type, exposure, and usage.
Grout Joint & Grout Type
For mesh-Marble Mosaic Carlo Scarpa , grout joint width and type may vary depending on the tile layout and design intent. For our rough-cut mosaic sheets, we recommend:
- ⅜" to ½" (variable)
- Cementitious sanded grout
Selecting a Grout Color
Grout color is a personal design choice — and we encourage you or your designer to take your time with this detail. To help guide your decision, we suggest the following process:
1.Complete your tile installation, but do not grout yet.
2. Ask your installer to bring grout color charts from their preferred grout manufacturer(s).
3. Choose a time when your space has optimal lighting (natural, artificial, or both).
4.Review the grout options under those lighting conditions and select the color that best complements your tile.
This ensures the grout enhances your design and harmonizes with your tile’s tone and your room’s ambiance.
INSTALLATION GUIDELINES
PLEASE READ BEFORE INSTALLATION
Installation of natural marble requires experience and proper handling. We strongly recommend working with a professional tile installer who is familiar with cutting, sealing, and maintaining marble.
This document serves as a general guide. The final responsibility for installation, sealing, and care rests with the installer and end user.
REVIEWING YOUR ORDER
All materials should be carefully inspected upon delivery. Once tiles are installed, they are considered accepted.
Marble is a natural material and will feature inherent variation in color, veining, tone, and texture. These natural differences are not defects but part of what gives the material its unique character.
Minor surface imperfections, pits, and natural fissures are normal and can often be minimized during the grouting process.
We recommend ordering 15–20% overage to account for cuts, breakage, and variation.
PRE-INSTALLATION PREP
Before installation, blend material from all boxes to ensure even distribution of tone and pattern. Dry-lay the tiles in your installation area to approve the layout.
Ensure that all tiles are placed face-up; the back of each piece may show cut marks or mesh texture.
Grout selection is a key design decision. We recommend reviewing Mapei Flexcolor CQ color charts under your project’s natural or artificial lighting to choose a grout color that best complements the tile.
RECOMMENDED MATERIALS
For installation, use a high-quality medium-bed thin set mortar compliant with ANSI A118 or ISO 13007 standards. Cut tiles using a water-cooled tile saw with a diamond blade. Use ⅛” tile spacers during installation. Additional tools required include a trowel, sponge and bucket, lint-free cloth, grout float or grout bag, and Mapei Flexcolor CQ grout.
For cleaning and sealing, use a pH-neutral stone cleaner such as Miracle Sealants Heavy Duty Cleaner and seal with 511 Porous Plus Sealer by Miracle Sealants. Apply using a paint roller, tray, or sponge. For interior use, Fila Matte Protective Wax may also be applied as an optional topcoat.
INSTALLATION GUIDELINES
Cutting:
Use a water-cooled tile saw with a diamond blade for clean, accurate cuts.
Floor Installations:
Ensure the subfloor is level and fully cured (minimum 30 days). Apply a medium-bed thin set mortar and consider using an uncoupling membrane such as Schluter-DITRA to reduce cracking risk. Lightly dampen the back of each tile with a sponge before setting. Trowel thin set in a single direction to minimize air pockets. Press tiles into place by hand only—do not use a mallet. Install in manageable sections, roughly 2 feet by 2 feet, maintaining consistent pressure and alignment. Use ⅛” spacers unless otherwise instructed. Immediately clean any thin set residue from the tile surface.
Wall Installations:
Install only on dry, even, and stable surfaces. In dry areas, tiles can be installed directly on unpainted drywall.
Commercial & Wet Areas:
To increase slip resistance, use wider grout joints or apply an anti-slip treatment after installation. Verify DCOF (Dynamic Coefficient of Friction) ratings as required by local codes. Consult your installer regarding specific commercial or code-compliant requirements.
PRE-GROUT SEALING
Allow the thin set to cure for a minimum of 48 hours. Clean all tile surfaces with a pH-neutral cleaner. Apply 511 Porous Plus Sealer in thin, even coats until fully absorbed. Avoid over-applying the sealer, as it may cause a waxy or uneven finish. Let the sealer cure for 1 to 2 days or as directed by the product manufacturer. Do not begin grouting until the sealer has fully cured.
GROUTING
Use Mapei Flexcolor CQ grout. Work in small sections (about 2 feet by 2 feet), and remove excess grout immediately to avoid staining or haze. Do not apply grout across the entire surface at once, as marble is porous and can stain. For projects using a contrasting grout color, hand-grouting or a grout bag is recommended. Allow grout to cure for at least 48 hours before proceeding to final sealing.
FINAL SEALING / TOPCOAT
Interior Applications:
Apply Fila Matte Protective Wax in thin, even layers, removing any excess immediately. Allow the wax to cure for 1 to 2 days before use. Do not over-apply.
Exterior Applications:
Use 511 Porous Plus Sealer only. Do not use Fila Matte Protective Wax in outdoor applications, as it may discolor under UV exposure. Allow sealer to cure for 24 to 48 hours before use.
Protection During Construction:
Cover finished marble surfaces with a breathable, durable board such as Ram Board until construction or finishing work is complete.
Need more inspiration? Visit @newyorkcementtile on Instagram or our website to explore project examples and grout color combinations.
FAQs
What kind of finish does this collection have?
The Carlo Scarpa Marble Mosiac Mesh tiles feature a smooth, honed matte finish. Honing creates a soft, velvety texture without the reflective gloss of polished stone — offering a modern, understated aesthetic.
What variation or imperfections should I expect?
This is a natural stone collection, so variation is inherent and part of its charm. You may notice differences in color, veining, tone, and texture from tile to tile. These organic variations make each installation unique.
To ensure a balanced overall look, we recommend blending tiles from all boxes before installation.
Do I need to seal the tiles?
Yes. Like most natural stones, these tiles must be sealed before and after grouting to prevent staining and moisture absorption.
For pre-grout protection (especially when using dark grout or working with porous stones), we recommend STONETECH Heavy Duty Sealer by LATICRETE.
For ongoing protection, we suggest STONETECH BulletProof Sealer by LATICRETE.
Do you offer trim pieces for this collection?
This collection follows a no-trim design philosophy, rooted in a refined, architectural aesthetic. Instead of traditional trim, we recommend mitering corners for a clean, seamless edge, honing any visible edges to match the tile face, or building out drywall so it sits flush with the surface of the tile.
How should I clean and maintain these tiles?
Marble and natural stone require pH-neutral, stone-safe cleaning products.
We recommend the LATICRETE line of stone care solutions for both daily and deep cleaning.
How will my samples compare to the final order?
Because each tile is cut from natural stone blocks, samples are meant to show general tone and texture — not exact replication.
Shade, veining, and surface details will vary from batch to batch, and between your sample and your full order. This is normal and expected.
Why do you recommend ordering 15% overage?
A minimum 15% overage helps account for cuts, breakage, and future repairs.
For more selective layouts or when working with larger tiles, we recommend 15–25% overage to allow for visual control and blending across the installation.
Can I use this collection outdoors?
The Carlo Scarpa Marble Mesh Collection is primarily intended for interior applications. Some stones may be suitable for covered outdoor areas or mild climates, but outdoor use should always be reviewed with your contractor to ensure long-term performance.


